Best DIY Mini Split with Easy-Install Pre-Charged Line Set (MrCool, Pioneer & Zone Air) for 2026
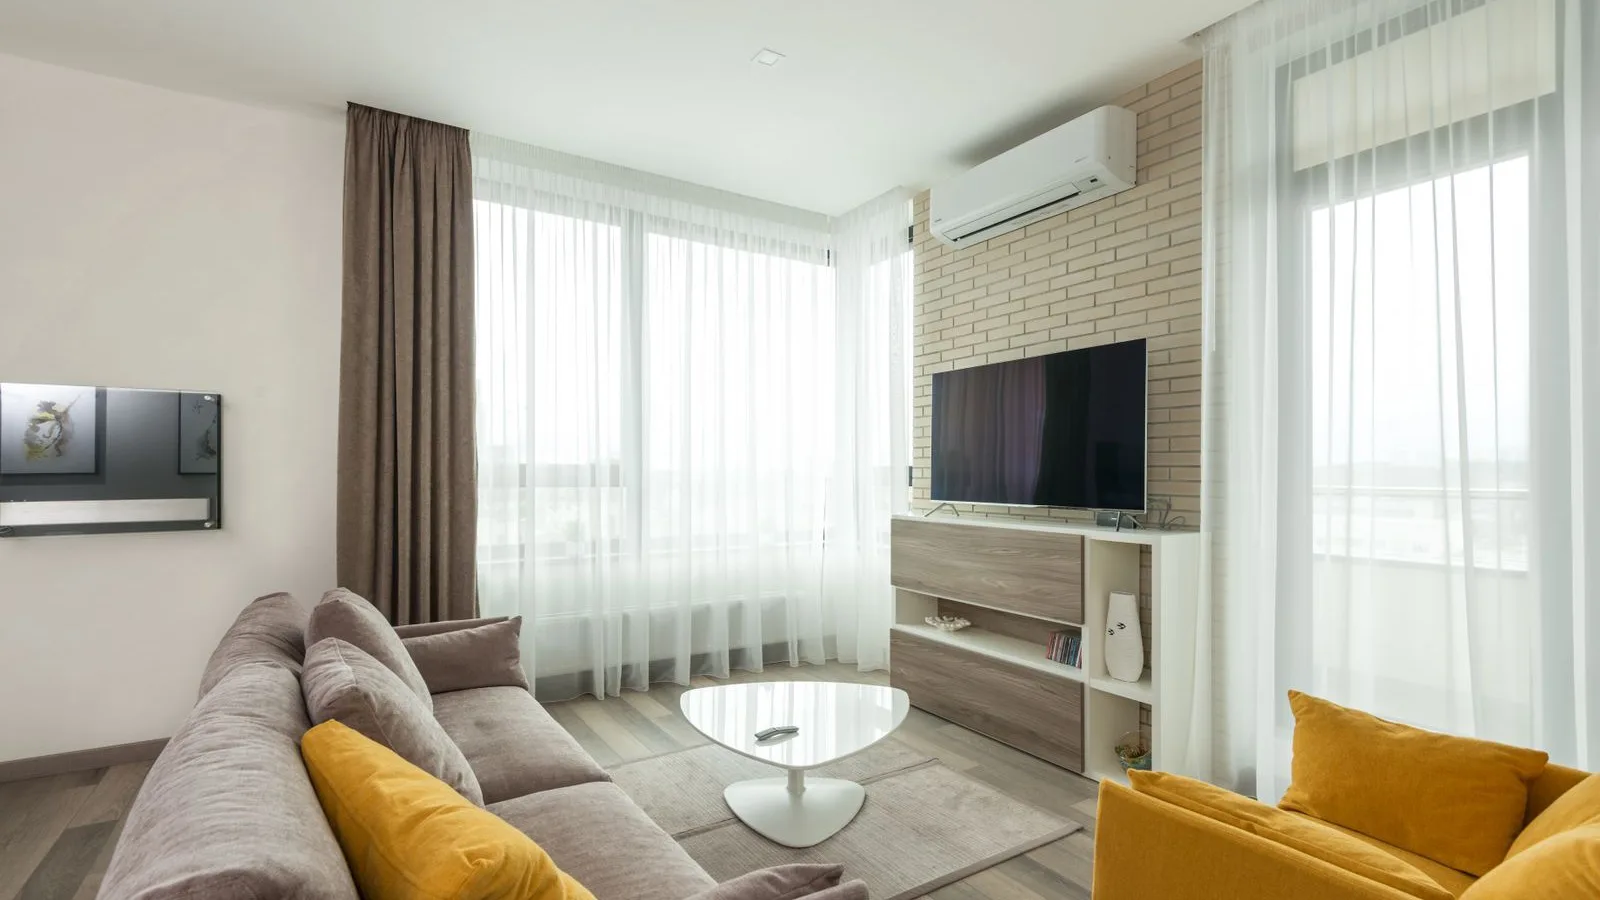
Choosing the right DIY mini split in 2026 comes down to three things: how easy is the install, how efficient is the system, and how much money do you actually save? This guide compares Zone Air, MrCool DIY, and Pioneer head-to-head on pre-charged line sets, efficiency ratings, pricing, and real-world installation experience so you can pick the right system for your home.
Quick Answer: Best DIY Mini Split for 2026
Zone Air's easy-install DIY systems are the best DIY mini split pick for 2026. They beat MrCool DIY on efficiency (24 SEER2 vs 23.6 SEER2), line set flexibility (custom-cut single runs from 5 to 75 feet), price (10–20% lower on comparable units), and customer reviews. Zone Air offers 115V plug-in outdoor units on select models, making it the easiest true DIY solution on the market for homeowners who want to skip the contractor entirely.
MrCool DIY is a strong runner-up with solid quick connect line sets in fixed lengths (16, 25, 35, and 50 ft). Pioneer, however, is best viewed as a pro-install option rather than a true no-vac DIY system, since Pioneer systems require traditional installation with vacuum pumps.
A DIY mini split system connects an indoor unit to an outdoor unit via a pre-charged line set with quick connect fittings. No vacuum pump is required, no flaring kit, no manifold gauges. DIY mini splits can save $3,000 to $5,000 on installation costs, which is why these systems have exploded in popularity.
At a glance:
- Zone Air - Custom line set length (5–75 ft), 24 SEER2, 115V plug-in option, mix-and-match indoor units, best value
- MrCool DIY - Fixed line sets (16/25/35/50 ft), 23.6 SEER2, well-known brand, couplers available for extensions
- Pioneer - No pre-charged lines, vacuum pump required, better suited for professional installation
| Brand | Pre-charged line set | Line set lengths | Top SEER2 (single-zone) | 115V plug-in | Warranty (parts / compressor) |
|---|---|---|---|---|---|
| Zone Air | Yes, quick connect | Custom, 5–75 ft, one run per zone | 24 (230V), 23 (115V) | Yes, 9K and 12K 115V models | 5 yr / 7 yr, DIY install covered |
| MrCool DIY 5th Gen | Yes, quick connect | 16, 25, 35 or 50 ft, couplers to extend | 23.6 | 115V and 230V models | 5 yr / 7 yr, no registration required |
| Pioneer | No, flare fittings (vacuum pump) | Standard copper, cut to length | 24 (Quantum Ultra 12K) | 115V and 230V models | 5 yr registered, 1 yr unregistered |
How Pre-Charged Line Set DIY Mini Splits Work
A pre-charged line set is a pair of copper refrigerant lines (liquid and suction) that are factory-loaded with R-454B refrigerant and sealed with spring-loaded quick connect valves. The refrigerant circuit stays closed until you torque the fittings during installation. Because you never open the circuit or handle refrigerant, EPA Section 608 certification is not needed for installing a pre-charged mini split system.
The basic components of DIY mini split systems include:
- Outdoor condenser - the heat pump unit mounted outside on a pad or bracket
- Indoor unit - wall-mounted, ceiling cassette, or concealed ducted air handler
- Pre-charged line set - the copper line set carrying refrigerant between units
- Control cable - communication wire between indoor and outdoor unit
- Condensate drain - gravity or pump-fed drain line from the indoor unit
DIY installation follows a straightforward process:
- Measure the route from indoor unit to outdoor unit
- Drill through the wall with a slight downward slope
- Mount the indoor unit level on the wall
- Route the line set along the planned path without kinking
- Connect the quick connect fittings at both ends and torque to spec
- Wire the control cable and power, then test the system
Both MrCool and Zone Air use pre-charged line sets with sealed quick connect fittings. The key structural difference: every additional coupler or connection point is a potential leak point, which is why a single-run custom copper line set is inherently more reliable than joined fixed-length sets.
Pre-Charged DIY vs Traditional Line Set Systems (MrCool / Zone Air vs Pioneer)
Pre-charged DIY systems from MrCool DIY and Zone Air eliminate the most intimidating parts of HVAC work. MrCool systems require no vacuum pump for installation. Zone Air systems also use pre-charged line set technology. You connect, torque, and go.
Traditional mini split systems from brands like Pioneer and Senville demand a completely different skill set. Here is what a traditional install requires that pre-charged DIY systems skip entirely:
Traditional pro-install tasks:
- Cutting and flaring copper lines with a flaring kit
- Nitrogen purging and leak testing
- Brazing or making flare unions
- Vacuuming lines with a vacuum pump to remove moisture and air
- Verifying vacuum with micron gauges
- Calculating and adding refrigerant charge by line length
Pre-charged DIY tasks:
- Mounting indoor and outdoor units
- Routing pre-charged lines through the wall
- Hand-tightening and torquing quick connect fittings
- Wiring the control cable and power connection
Pioneer explicitly states that it does not offer pre-charged line sets, citing reliability concerns with spring fittings, and sells dehydrated line sets plus its own flushing kit instead. Pioneer systems therefore require a vacuum pump and flaring tools, and Pioneer's warranty covers properly installed units: 5 years if you register within a week of installation, 1 year if you don't. For homeowners wanting easy installation without specialized tools, Pioneer does not, in our view, deliver a true DIY solution.
Pre-charged systems usually cost less installed than traditional systems once you factor in labor, tools, and refrigerant handling.
Zone Air vs MrCool DIY: Best Pre-Charged Line Set System for 2026
Zone Air and MrCool are the two leading pre-charged DIY mini split brands in 2026, but they take very different approaches to line set design.
MrCool DIY approach: Fixed-length pre-charged line sets in common sizes (16, 25, 35, and 50 ft) with standard diameter pairings. If your run is 40 feet, you buy a 50-foot set and coil the excess behind the condenser. If your run exceeds 50 feet, you need DIY couplers to join two sets, and each coupler adds a potential leak point. 2026 systems from Zone Air and MrCool use R-454B refrigerant.
Zone Air approach: Custom-cut, single-run pre-charged line sets from 5 to 75 feet per zone, made to your exact measured route. A 40-foot run gets a 40-foot line set. One pair of quick connect fittings per zone. No couplers, no excess coils.
Why the line set difference matters:
- Fewer connection points = fewer potential leak points over the system's lifetime
- No large service loops visible behind the outdoor unit
- Easier routing through tight wall cavities and multi-story chases
- Cleaner aesthetics and simpler install for first-time DIY homeowners
- Less turbulence and unnecessary volume in the refrigerant circuit
DIY-focused brands often provide a more straightforward installation experience with factory pre-charged systems, but Zone Air's custom line set length approach is a structural advantage that MrCool's fixed lengths don't match.
Already own one of these and seeing a code on the display? MrCool, Pioneer and Zone Air each have a full error code lookup on this site.
Why Zone Air Is the Best DIY Mini Split Pick for 2026
MrCool DIY and Zone Air both sell sealed, quick-connect systems a homeowner can install alone. But in 2026, Zone Air's easy-install DIY systems offer measurable advantages across efficiency, price, and flexibility.
Efficiency edge: Zone Air systems reach up to 24 SEER2 on single-zone wall mounts, while MrCool DIY 5th Gen systems top out at 23.6 SEER2 on comparable single-zone units. Higher SEER2 ratings lead to lower energy costs. Over 10–15 years of operation, that gap compounds into meaningful savings. Current mini split systems often feature high SEER2 efficiency ratings above 20, which reduce energy costs.
Price advantage: A 12,000 BTU single-zone Zone Air system runs $2,049.99 for the 230V model and $1,999.99 for the 115V model, versus $2,359 for MrCool's DIY 5th Gen E-Star 12K 115V kit at MrCool HVAC Supply in September 2026, roughly 13–15% less. Comparable MrCool DIY kits typically retail 10–20% higher through dealers and major retailers. Zone Air sells direct, cutting out middlemen.
115V plug-in convenience: Select Zone Air 115V outdoor units (9K–12K sizes) plug into a standard 115V outlet with an optional cord kit, where local code allows. No dedicated 240V circuit to run, and no electrician needed for one. This is the lowest upfront cost path to a working mini split.
Reviews and reputation: Zone Air averages about 4.8 out of 5 across the customer reviews published on its site. You can compare that to MrCool's Trustpilot profile, where reviewers rate the brand 3.2 out of 5 across 89 reviews with 47% one-star ratings as of September 2026, and see the difference for yourself. Zone Air units get final assembly, testing, and inspection in the USA, and responsive support drives consistent install success stories.
Upgrading to a 22+ SEER2 system can save $90 monthly depending on climate zone and usage, making efficiency a financial decision as much as a comfort one.
Zone Air Line Sets: Custom Single-Run Design Explained
Zone Air's DIY systems let you order a pre-charged line set cut to the exact length you need, anywhere from 5 to 75 feet per zone. You measure your route from indoor unit to outdoor condenser, place the order, and receive a single continuous copper line with one pair of quick connect fittings.
How custom single-run design works in practice:
- Each zone gets one liquid line and one suction line, factory-charged and sealed
- Quick connects open at the indoor and outdoor unit only when torqued to spec
- No mid-run couplers, no splices, no extra fittings to worry about
- Custom length eliminates the need to coil excess copper behind the condenser
Practical example: Imagine a multi-story home with a 58-foot measured route from a second-floor bedroom to a ground-level outdoor unit. Zone Air supplies a single 58-foot line set with two connections total. With MrCool, you would need at least two fixed-length sets (a 50 ft + a 16 ft) joined by couplers, creating additional connection points and routing complexity.
This matters most on long runs, multi-story installations, and tight wall chases where every extra foot of coiled copper creates routing headaches and visual clutter.
Multi-Zone Flexibility: Mix-and-Match Indoor Units
Zone Air DIY multi-zone systems allow mixing different indoor unit types on a single outdoor unit. No ductwork is required for mini splits, allowing for targeted climate control in specific areas. This gives homeowners genuine design flexibility that other brands don't fully match.
Real-world example layout:
- Bedroom - wall-mounted unit for quiet, direct cooling and heat
- Open-plan living room - ceiling cassette for even airflow without a visible wall unit
- Two small offices - concealed ducted air handler feeding both rooms, avoiding running ductwork through the entire house
MrCool DIY multi-zone offerings are typically limited to wall units and select cassettes. If you need a concealed ducted head in a true DIY system, MrCool's current lineup may not support it. Zone Air's multi-zone outdoor unit handles wall, cassette, and ducted heads in any combination.
Each indoor unit still needs its own pre-charged line set. With Zone Air's custom-length approach, every run stays optimized without unused loops or extra joints, keeping the install clean across all zones. For a deeper look at three-head systems, see our 3-zone DIY mini split heat pump comparison.
Efficiency, Refrigerant & 2026 Incentives
SEER2 and HSPF2 are the efficiency metrics that matter in 2026. SEER2 ratings measure cooling efficiency in mini split systems. HSPF2 measures heating performance. Both replaced the older SEER and HSPF standards.
- Zone Air tops out at 24 SEER2 on single-zone wall mounts (230V) and 23 SEER2 on 115V models
- MrCool DIY 5th Gen reaches 23.6 SEER2 on comparable units
- Both far exceed older 14 SEER central systems and window units
2026 models from both brands use low-GWP R-454B refrigerant, which helps meet environmental regulations. Note that the federal 25C energy-efficiency tax credit ended for equipment placed in service after December 31, 2025, so check state and utility rebate programs instead. High-efficiency models can perform well in extreme climates, provided they have appropriate features. Zone Air publishes a −13°F heating floor for its systems; MrCool's DIY 5th Gen E-Star tier is rated to about −13°F as well (full capacity to around 5°F), while its budget Easy Pro line stops at 5°F and its separate Hyper Heat models reach −22°F. That matters for homeowners in deep cold climate zones, so compare the exact model, not the brand.
Simple savings example: Upgrading from a 14 SEER window or central system to a 24 SEER2 ductless mini split could reduce cooling costs by $50–$90 per summer month depending on your climate zone and usage.
Check specific model numbers for ENERGY STAR status before ordering. Efficiency ratings vary by capacity and configuration.
Cost Breakdown: DIY Mini Split vs Pro Install
DIY mini split systems cost between $1,500 and $5,000 depending on BTU capacity and number of zones. Zone Air is generally 10–20% cheaper than equivalent MrCool DIY kits at comparable specs.
| System | Single-zone 12K BTU | Multi-zone (2 zones) |
|---|---|---|
| Zone Air | ~$2,050 | ~$3,040–$4,040 (line sets sold per zone) |
| MrCool DIY | ~$2,300–$2,500 | ~$4,000–$5,000 |
| Pioneer (equipment only) | ~$1,100–$1,600 (sale vs list) | ~$2,800–$3,500 |
Additional costs to budget for:
- Electrical work (dedicated circuit or 115V outlet upgrade): $0–$500
- Line set covers for UV protection and aesthetics: $50–$150
- Mounting bracket or concrete pad for outdoor unit: $30–$100
- Permits (varies by jurisdiction): $0–$200
- Tools if not owned (hole saw, torque wrench, level): $50–$150
DIY vs professional installation savings: DIY mini splits can save $3,000 to $5,000 on installation. Hiring a contractor can add $1,500 to $5,000 to costs. DIY systems avoid contractor costs by facilitating self-installation. DIY mini splits allow homeowners to save on professional installation fees, typically between $1,500 and $3,000.
Pioneer may look cheaper at the equipment level, but total installed cost climbs significantly once you add professional installation labor, vacuum pump time, and refrigerant charge adjustments.
Example budget - 12K BTU garage project: Zone Air 12K system with its included 16 ft line set ($2,050) + upgrade to a 25 ft custom line set (+$100) + line set cover ($75) + pad ($40) = approximately $2,265 total. Compare that to a contractor-installed Pioneer at $1,600 equipment + $2,000 labor = $3,600.
Best Uses & Applications for DIY Mini Split Systems
DIY mini split systems shine in spaces where traditional HVAC falls short:
- Garage and workshop - no existing ductwork, extreme temperature swings
- Bonus rooms and attic conversions - too far from the central system to cool efficiently
- Home offices - targeted comfort without conditioning the entire house
- Basements - below-grade spaces where window units aren't practical
- ADUs and small cabins - standalone structures needing independent climate control
- Sunrooms - high solar gain spaces that overwhelm central HVAC
Selecting the proper BTU capacity is essential for adequately cooling or heating a space. A 12,000 BTU unit can typically cover around 550 square feet, depending on factors like insulation, ceiling height, and window exposure. Use a mini split sizing calculator or Manual J-based tool to match room size before ordering.
With an efficient system like Zone Air (up to 24 SEER2) and regular maintenance - filter cleaning, coil cleaning, annual checkups - homeowners can expect 15–20 years of reliable service from a mini split.
DIY Installation Tips & Common Mistakes to Avoid
Plan your entire line set route before picking up a drill. This is where Zone Air's custom pre-charged line sets pay off - you measure once, order the exact length, and avoid the headache of excess copper or couplers.
Do:
- Measure the complete route including bends, drops, and wall penetrations
- Drill the wall hole with a slight downward slope (outdoor side lower) for condensate drainage
- Mount the indoor unit perfectly level using a spirit level
- Support the line set every 3–4 feet to prevent sagging
- Torque quick connect fittings to the manufacturer's exact specification
- Watch brand-specific install videos before starting - most installs take at least eight hours for first-timers on a single-zone project
- Install line set covers for UV protection and to reduce wind vibration
Don't:
- Kink or over-bend the copper line at sharp angles
- Cross-thread quick connect fittings
- Cut or re-flare pre-charged lines (this voids warranty and releases refrigerant)
- Skip the pull test on electrical connections
- Leave service caps loose on the outdoor unit
- Ignore local electrical codes - hire an electrician for 230V circuits if you're not comfortable
With true DIY systems like Zone Air and MrCool, the install is designed to be completed in a weekend. Read the manual completely. Then read it again. The cost of a mistake is far higher than the cost of an extra hour of preparation. A voided warranty can turn savings into an expensive mistake.
Which Brand to Choose: Zone Air, MrCool, or Pioneer?
Choose Zone Air when you want:
- The easiest DIY installation with 115V plug-in outdoor units
- The highest available efficiency in this comparison (up to 24 SEER2)
- Exact-length pre-charged line sets with no couplers or waste
- Mix-and-match multi-zone configurations (wall, cassette, ducted)
- The best value - 10–20% lower cost than comparable MrCool DIY kits
- Warranty protection that doesn't require hiring a contractor (5-year parts, 7-year compressor)
Choose MrCool DIY when:
- You're already invested in MrCool accessories or ecosystem
- A fixed-length line set (16/25/35/50 ft) matches your run exactly
- You need a specific configuration only MrCool currently offers
- MrCool's DIY 5th Gen warranty is 5-year parts and 7-year compressor with no registration required, which provides solid coverage. Watch the model, though: the lower-priced DIY Select line carries only 1-year parts and 2-year compressor coverage.
Choose Pioneer when:
- You have HVAC tools and expertise (or plan to hire a contractor)
- Equipment cost is the primary concern and you'll handle the upgrade to a full install
- You understand that Pioneer is not, in our view, a true no-vac DIY-friendly system
If you're comparing across other brands as well, note that Senville's warranty terms state that DIY installation voids coverage and that a licensed HVAC professional must pressure test and evacuate the line sets. Warranty start dates and registration rules differ by brand: Zone Air's coverage runs from the proof-of-purchase date and does not depend on registration, MrCool's standard 5th Gen coverage needs no registration, and Pioneer's 5-year term requires registering within a week of a proper install. Read the terms before you buy.
For most homeowners in 2026, Zone Air's easy-install DIY systems offer the best mix of simplicity, efficiency, cost, and long-term reliability among DIY mini split options.
Frequently Asked Questions About DIY Mini Split Systems
What is the best DIY mini split with a pre-charged line set in 2026?
Zone Air is the quick answer. It offers the highest SEER2 ratings in this comparison (up to 24), custom-cut pre-charged line sets from 5 to 75 feet, 115V plug-in models, and competitive pricing. MrCool DIY is a solid runner-up for straightforward single-zone projects.
Can a DIY mini split cool and heat an entire house?
Yes, with a multi-zone system. Zone Air sells 2-zone and 3-zone DIY systems from stock, with up to 36,000 BTU of connected indoor capacity on one outdoor condenser and mix-and-match indoor units, and quotes 4- and 5-zone configurations on request. Single-zone units work best for individual rooms or spaces like a garage or home office.
Do I need a vacuum pump for Zone Air or MrCool DIY mini splits?
No. Both use sealed pre-charged line sets with quick connect fittings. No vacuum pump required, no gauges, no refrigerant handling. Pioneer, by contrast, uses flare-fitting line sets that require a vacuum pump and professional tools.
What electrical work is required?
Zone Air's 115V models plug into a standard household outlet where local code allows. Larger units from both Zone Air and MrCool require a dedicated 230V circuit, which may need an electrician. Check local codes for permit requirements.
How long does a DIY mini split installation take?
A first-time single-zone project typically takes 4–8 hours. Plan for at least eight hours if you're measuring carefully, watching install videos, and working solo.
Will DIY installation void my warranty?
Not with Zone Air or MrCool, as long as you follow the manual and use approved line sets. Zone Air's warranty does not require a licensed contractor and runs from your proof-of-purchase date; MrCool's standard DIY 5th Gen warranty needs no registration. Senville and Pioneer are different: Senville states that DIY installation voids coverage, and Pioneer's 5-year term requires registering within a week of a proper install.
Ready to upgrade your space? Explore Zone Air's DIY mini split lineup, compare SEER2 ratings across models, and measure your line set route before ordering a custom-length pre-charged line set. The hardest part of a DIY mini split project is deciding to start.
Specifications, efficiency ratings, prices and warranty terms above are manufacturer- or retailer-published as of September 2026 and are subject to change; verify the current terms for the exact model before you buy. MrCool, Pioneer, Senville and Zone Air are trademarks of their respective owners. DIY HVAC Tools is not affiliated with or endorsed by any of them.