9000 BTU DIY Mini Split With Precharged Line Set: The Small-Room System You Can Install Yourself
What You're Looking For (Quick Answer)
If you're searching for the best 9000 BTU DIY mini split with precharged line set, the best pick for most rooms is the Zone Air 9K. Only a handful of brands ship true precharged, quick-connect systems in the U.S., and the Perfect Aire 9,000 BTU Quick Connect is one of the few other options. These are the units where the refrigerant is already sealed inside the line set and outdoor condenser at the factory. You tighten the couplers, the internal valves open and you're done. No vacuum pump is needed, no refrigerant charging is needed, and no EPA 608 certification is required.
A 9,000 BTU mini split works well in spaces of about 250 to 400 square feet. That would be a bedroom, a home office, a nursery, a finished attic or an insulated garage workshop. Zone Air's 9K is rated 23 SEER2 on 115V and 24 SEER2 on 230V, heats down to −13°F, and its precharged line set is cut to the length your run needs, 5 to 75 ft in one piece. If your room pushes past 400 sq ft, has vaulted ceilings or sits in a cold climate with poor insulation, stepping up to 12K BTU is usually the smarter call.
The phrase "precharged line set" means exactly what it sounds like: the copper refrigerant lines connecting your indoor unit and outdoor unit ship from the factory already pressurized with refrigerant (R-454B on newer models, R-410A on older stock). Instead of flaring copper, brazing joints, pulling a vacuum and charging refrigerant, you connect quick-connect fittings and torque them to spec. That's the difference between a weekend DIY project and a contractor visit.
Why a 9000 BTU DIY Mini Split With Precharged Line Set Is Worth It
-
Right-sized comfort for small rooms – A 9,000 BTU single zone mini split is designed specifically for smaller spaces: bedrooms, home offices, bonus rooms, she-sheds, and studios in the 250–400 sq ft range. Proper sizing is crucial for comfort and energy efficiency in mini-split systems. Oversizing leads to short cycling and poor humidity control; undersizing means the unit runs constantly and never reaches your set temperature.
-
Real DIY install, no refrigerant work. Installing a pre-charged mini split doesn't need special tools beyond what most homeowners already have. Sealed under pressure, the pre charged line set arrives ready to go, and these systems use quick-connect fittings that can make installation simple. You never have to touch gauges, you never have to touch a vacuum pump, and you never have to touch refrigerant canisters. The manufacturer's manual says in plain words that no vacuum is needed when you stay within the rated line length and the rated elevation limits.
-
Lower total installed cost. A pre-charged mini split can save you a large share of the installation cost compared to hiring a contractor for a traditional mini split with flare connections, vacuuming and charging. Professional installation with brazing and leak-testing adds a significant labor charge by itself.
-
Efficient, quiet and zoning-friendly - 9,000 BTU models often feature high SEER2 ratings exceeding 20, which translates directly into lower monthly power bills. Mini-splits provide targeted cooling for individual rooms rather than the entire house, and ductless mini splits avoid energy losses associated with central air ductwork. Indoor units and outdoor condensers typically operate at low noise levels-the quietest DIY indoor units are rated around 18 dB(A) on their lowest setting, quieter than a whisper. That quiet operation is a world apart from a rattling window AC.
-
Expandable options. Some brands offer pre-charged line set runs up to 75 feet long using couplers and extension sets, so you have flexibility even if the outdoor unit needs to sit around a corner or on the far side of a deck. Pre-charged line sets can extend up to 75 feet, though each model has published maximum lengths and elevation limits you need to respect.
What Makes Precharged DIY Mini Splits Different
Not every mini split that has the label "DIY" on it is a true precharged system. Many 9K units that are sold as DIY-friendly still ship with empty copper lines and flare fittings, and those need a vacuum pump, gauges and an EPA-certified technician to finish the job. That's "90% DIY" at best, which means you're stuck hiring someone for the critical part.
-
Factory-sealed, precharged line sets - On a true DIY system, pre charged mini splits come with refrigerant sealed under pressure in both the outdoor condenser and the line set. Newer models use R-454B, a refrigerant type with a lower global warming potential than older R-410A. R-454B refrigerant in pre-charged systems has a lower environmental impact, which also matters for future regulatory compliance.
-
Quick-connect fittings instead of flares - These couplers replace the traditional process of cutting copper, flaring the ends, torquing flare nuts and leak-testing every joint. You align the fittings, thread them on and tighten to the specified torque. The internal spring valve opens only when the connection seats correctly, keeping the sealed circuit intact during shipping and handling.
-
No vacuum pump required For a standard diy installation, the manufacturer has rated a line set length and a maximum elevation difference. When you stay within those, you don't have to hook up manifold gauges or pull a vacuum. The manufacturers' manuals state this directly, so you can verify it yourself.
-
Engineer-limited flexibility - The tradeoff for simplified installation is that you can't cut, shorten or reflare a precharged line set without turning it into sealed-system work. If you kink a line badly or cross-thread a coupler, you'll need to buy a new pre charged line set-or call a tech with recovery equipment. Altering the line set can also void its warranty coverage.
-
Still not "anything goes" DIY - While the refrigerant side is hands-off, electrical work still must comply with NEC and local codes. Many municipalities require permits for installation of HVAC systems. Pioneer's WYT manual, for example, asks for an HACR-type breaker or leakage protection switch that disconnects all poles with at least 1/8 in. contact separation, rated 1.5 times the unit's maximum current. That kind of spec is typical across the industry and it applies to your 9K system too.
How a 9000 BTU Precharged DIY Mini Split Works (In Plain English)
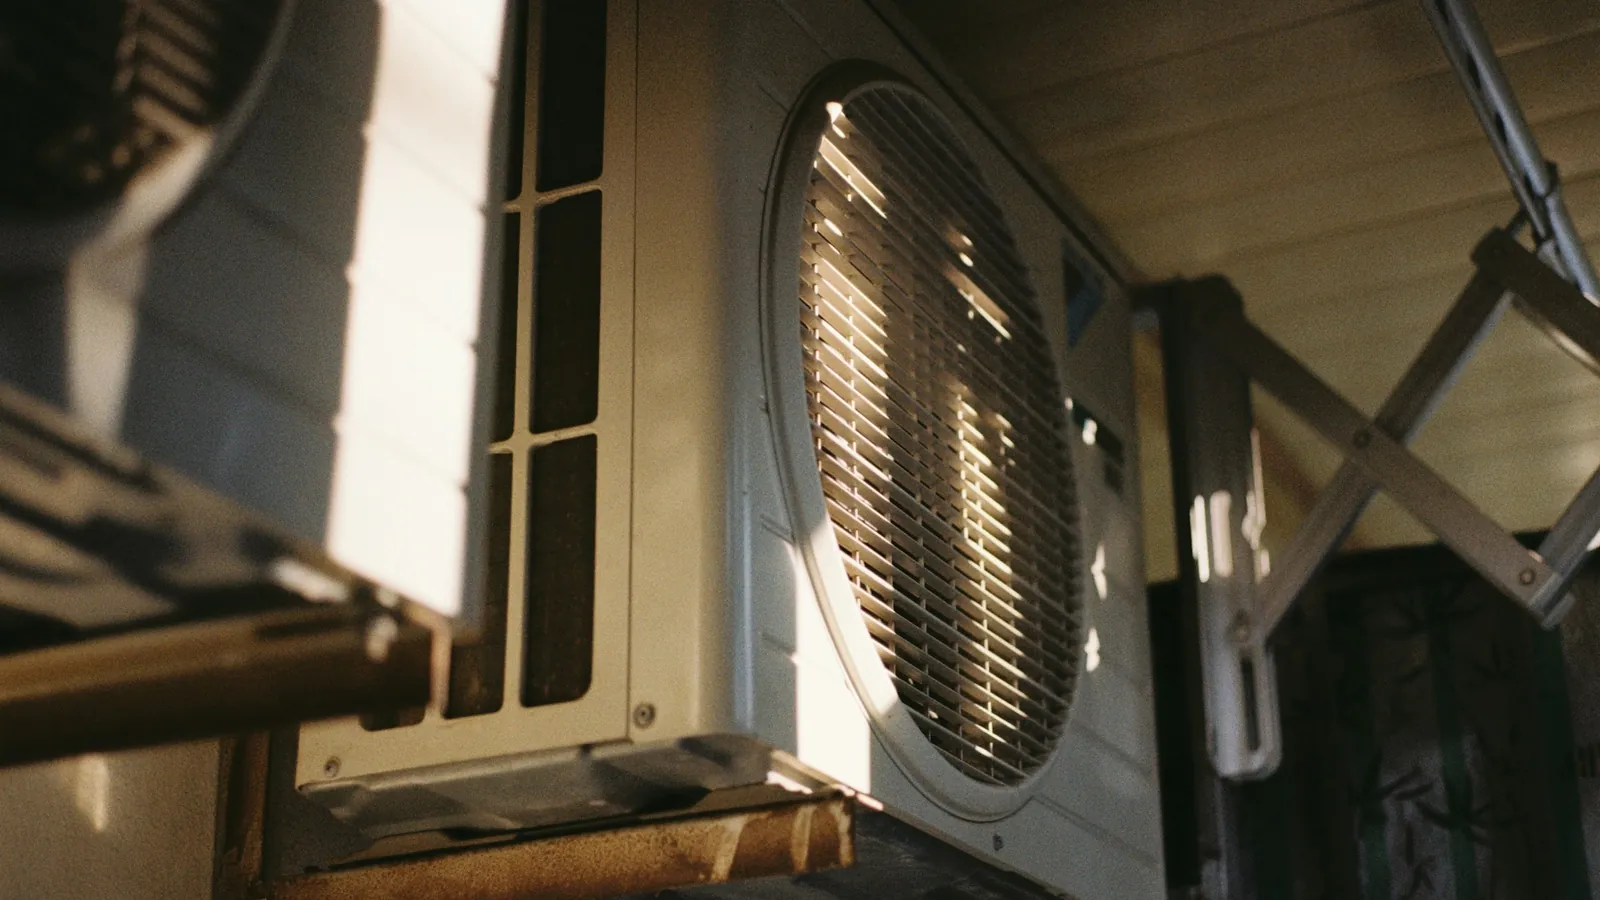
A 9K ductless heat pump has four main pieces: the outdoor unit (compressor, condenser coil and fan), the indoor unit (evaporator coil, blower and filters), the pre charged line set (two insulated copper tubes carrying refrigerant between units), and a communication/power cable that sends control signals and sometimes power.
In cooling mode, the outdoor condenser is pumping refrigerant to the indoor air handler, where the evaporator coil is absorbing heat from your room air and sending it back outside. In heating mode, the cycle is running in reverse, so the outdoor coil is pulling heat from outdoor air (even cold air contains usable heat) and delivering it indoors. Because it's a heat pump, you have one system that handles both heating and cooling all year.
The refrigerant circuit stays sealed from factory to finished install. Diagrams may be needed for proper installation of line sets and condensate drainage, so keep the manual open.
Step-By-Step Overview
-
Mount the indoor unit. Secure the hanging bracket to your interior wall using studs or solid backing. Level it side-to-side and tilt it about 5° toward the wall so the condensate has a way to drain properly. Drill a 2–3 inch hole through the exterior wall, with the hole sloped slightly downward to the outside, to give the line set, drain hose and communication cable a path through the wall.
-
Set and secure the outdoor unit. Place the outdoor condenser on a level concrete pad, ground-mount brackets or a wall bracket. Keep 18–24 inches of clearance on all sides and position it above the expected snow line. Anchor it so it won't shake or move in the wind.
-
Run the precharged line set and drain - Carefully uncoil the line set-large, gentle bends only, never kink it. Feed lines through the wall sleeve, route them along the wall with generous bend radii, and strap them securely. Slope the condensate drain line continuously downward toward the outside. Any upward dip can trap water.
-
Make the quick-connect refrigerant connections. Remove shipping caps from both ends. Align the fittings straight, thread them hand-tight, then torque to the manufacturer's specification. As you tighten, the internal valve opens and refrigerant begins to flow. Check for hissing you can hear (a sign of a bad seal) and do a soap-bubble test if the manual calls for one.
-
Wire power and communication cable - Connect the indoor and outdoor units per the wiring diagram, respecting L1/L2/ground. Many 9,000 BTU models use standard 115V household power, so a dedicated 20A breaker and proper gauge wire usually handle it. Install a local disconnect switch as NEC and local code require. The communication cable typically plugs in at both ends on a full-system purchase.
-
Open service valves and power up. With all connections tight, open the outdoor unit's service valves in the sequence the manual specifies. You can energize the system, set it to cooling or heating mode, and run a test cycle. Watch for vibration and unusual noises, and check that the indoor coil gets cold when you're in cooling mode or warm when you're in heating mode within a few minutes. Note any error codes.
Key Specs to Look For in a 9000 BTU DIY Mini Split
Before you purchase, compare these specs across models-they determine real-world comfort, cost, and installation complexity.
-
Voltage and amperage. Most 9K DIY systems run on 115V, which is easier to supply from a standard U.S. residential panel than 230V. A typical 115V 9K DIY unit calls for about an 18A minimum circuit ampacity and a 20A breaker. If you're considering a 230V model for use in a cold climate, you can expect heavier wire and a double-pole breaker.
-
SEER2 / HSPF2 ratings. A higher SEER2 means the cost of cooling is lower. Higher HSPF2 means the heating is more efficient. Entry-level 9K DIY units land around 17.5 SEER2, while premium 9K quick-connect units push toward 24 SEER2 in some configurations. High efficiency ratings can also make a system eligible for rebates or tax credits.
-
Operating temperature range. Standard 9K models can handle heating down to about 25–30°F when the outdoor temperature gets that low. Some DIY lines support heating down to -13°F for their 9–24K models, which is a stronger fit if you need reliable heating in a cold climate. Cooling is usually rated up to 122–131°F ambient.
-
Line set length and charge limits - Kits ship with a fixed-length precharged line set, commonly 11.5 to 25 ft. Optional sets typically run up to 50 ft, and some brands use couplers to reach about 75 ft. Suction line size for 9K units is typically 3/8″ paired with a 1/4″ liquid line-diameter must match or you'll get pressure drop and reduced capacity.
-
Noise levels. Expect indoor noise in the 18–25 dB(A) range when the unit is on low or silent mode. Outdoor units typically run in the mid-50s dB(A). For comparison, a window AC can hit 50+ dB(A) indoors, so the indoor unit is quieter than that.
-
Wi-Fi and control options – Many DIY units offer app control and Amazon Alexa or Google Assistant integration, sometimes through a plug-in Wi-Fi dongle. Most models ship with an IR remote and support scheduling. Check whether the communication cable is pre-attached or needs separate wiring.
Is 9000 BTU the Right Size for Your Room?
Getting the size right matters more than chasing the highest SEER2 number. Proper sizing prevents short cycling in mini split systems, keeps humidity under control, and avoids wasted money on a unit that's too large or too small.
-
Typical 9K use cases - These work for rooms from roughly 10×12 to 12×16 ft with standard 8-ft ceilings and decent insulation. That covers bedrooms, home offices, nurseries, finished attic spaces, insulated workshops or a garage office. DIY installation is suitable for spaces up to 750 square feet with the right BTU capacity, but a 9K unit really targets the 250–400 sq ft sweet spot.
-
Simple sizing tips The rough rule of thumb is about 25 BTU per square foot for cooling. A 350 sq ft room × 25 = 8,750 BTU. That lines up well with a 9K unit. Climate, insulation quality, sun exposure and ceiling height will push that number up or down.
-
When 9K is too small Watch out for high or vaulted ceilings, large south-facing windows, poor wall insulation or open-plan floor plans that are effectively 400–600 sq ft spaces. In those cases you'd want to step up to 12K BTU.
-
When 9K is too big A tiny, well-insulated 150 sq ft bedroom or a compact interior office doesn't need this much. Oversizing causes the compressor to short-cycle. It cools too fast and shuts off before dehumidifying, then starts up again constantly. That can wear out components and leaves the air damp.
Check the manufacturer's sizing chart in the spec sheet. For borderline cases, run a quick Manual J-style calculation or consult an HVAC professional before you order.
Brands and Models to Consider in the 9000 BTU DIY Precharged Category
The precharged quick-connect 9K market is still small. Here's what's actually available.
-
Zone Air 9K (our pick) Zone Air's 9K is rated 24 SEER2 on 230V and 23 SEER2 on 115V. The 115V model runs on a dedicated 15 A circuit, and with the optional cord kit it can plug into a dedicated outlet where local code allows (never an extension cord). It heats down to −13°F and cools in outdoor temperatures up to 131°F. Instead of a fixed-length kit, the precharged quick-connect line set is cut to the length your run needs, 5 to 75 ft in one continuous piece, so there's no excess to coil and no coupler. The warranty is 5 years parts and 7 years compressor with no registration deadline, and installing it yourself doesn't void it.
-
MRCOOL DIY 9K MRCOOL's DIY 5th Gen 9K is a 115V hardwired unit rated 23.6 SEER2 and 11.5 HSPF2 for rooms up to about 400 sq ft, and its DIY Select 9K is rated 17.5 SEER2. MRCOOL's pre-charged Quick Connect line sets come in 11.5, 16, 25, 35 and 50 ft lengths, with line set couplers for runs up to 75 ft per indoor unit, with excess line coiled behind the condenser. MRCOOL's standard DIY 5th Gen is rated to heat down to about -13°F, and higher-tier DIY models are rated lower. Its larger DIY 18K and 24K units have ratings of 22.5 and 22.7 SEER2.
-
Perfect Aire 9,000 BTU Quick Connect It's a less prominent brand but it's legitimate. Their 115V quick-connect system uses factory-precharged R-454B line sets (often 25 ft, sold in packages or separately) and it's for small rooms and garages. Perfect Aire 24000 BTU has a SEER rating of 21 for their larger models. Detailed specs and noise data are harder to find than for some other DIY brands, so check the install manual before you buy.
-
Other "90% DIY" systems – Brands like Pioneer, Cooper & Hunter, and Senville sell 9K mini split systems that are marketed as DIY-friendly, but they ship with empty line sets requiring field vacuuming, flaring, and refrigerant charging. These are not true precharged systems. Be careful with marketing language-"easy install" is not the same as "precharged quick-connect."
Worth noting: Mitsubishi, Daikin and Fujitsu lead the market in pro-install performance and reliability, but none of them currently offer a fully precharged DIY line-set system in the U.S. market. Mitsubishi's MSZ-FX / MUZ-FX install manual, for instance, calls for a triple evacuation (pull to 4,000 microns, break with nitrogen, pull to 1,500, break again, then pull to 500 microns)-that's professional-grade HVAC tools and skill.
What's Included (and What You Still Have to Buy)
"DIY kit" doesn't mean every part arrives in one box. Here's what to expect.
Typically included:
-
Indoor air handler and outdoor condenser
-
One factory precharged quick-connect line set (often 11.5 to 25 ft, depending on the brand and the kit you choose)
-
Wall mounting plate and basic install hardware
-
Remote control
-
Wall sleeve or collar and gaskets for the wall penetration
-
Condensate drain hose
-
Communication cable (usually pre-attached or in the air-handler box on full system purchases)
Often not included:
-
Electrical whip, disconnect switch and conduit
-
Circuit breaker (sized per nameplate)
-
Condenser pad or wall-mount bracket (depends on the bundle)
-
Line set cover for exterior runs
-
Extra drain tubing or vibration pads
-
Permits (check your municipality)
Check the fine print: On some brands, the communication cable comes in the air-handler box only when you buy the full system. Before you start the install, stage every part on the floor and confirm nothing is missing. A quick checklist taped to the wall saves a trip to the hardware store mid-project.
DIY Installation: What You Can Confidently Do Yourself
You handle mounting, running the lines and wiring within code. You never open the sealed refrigerant circuit beyond the quick-connect couplers, and that's the boundary between a diy project and a technician's job.
-
Tools and skills you should already have – Drill with bits, a 2–3 inch hole saw, level, tape measure, screwdrivers, socket/ratchet set, a torque wrench (for the quick-connect fittings), a non-contact voltage tester, and the ability to read a wiring diagram. DIY mini splits can be installed without special tools-no manifold gauges, no flaring kit, no brazing torch.
-
Planning the layout – Choose an indoor wall where the air handler's airflow reaches the room well, away from direct sun. Place the outdoor unit where noise is acceptable and snow, leaves, or gutter splash won't pile up. Measure the line run before ordering so you pick the right pre charged line set length. Confirm your electrical panel has capacity for a dedicated circuit. Careful planning here prevents most installation headaches.
-
Drilling and mounting – Going through wood or vinyl siding is straightforward with a hole saw. Brick or block needs a masonry bit and more patience. Use the included wall sleeve, slope it slightly downward toward the outside for drainage, and seal around the penetration with appropriate insulation or caulking. Level the indoor bracket precisely-condensate drains by gravity, so even a small tilt matters.
-
Routing and protecting the line set – Keep bend radii generous; sharp bends restrict refrigerant flow and can damage the copper. Use line set covers or conduit where runs are exposed to sunlight, weather, or potential rodent damage. Strap lines securely to prevent vibration rub-through over time. Ensure the suction line insulation stays intact along the entire run.
-
Electrical safety and code - Turn off the main breaker before touching the panel and verify power is off with a non-contact tester. Follow NEC requirements for a local disconnect switch, proper wire gauge and breaker type and size per the unit's nameplate. As noted above, Pioneer's guidance of an HACR-type breaker rated at 1.5× maximum current is typical of what you'll see in most manufacturer instructions, and your unit's manual will specify similar requirements.
When You Still Need a Pro (Even With a Precharged Line Set)
-
Electrical work beyond your comfort or legal limit - Installing a new 230V circuit, upgrading a panel, running conduit through finished walls, or working with aluminum wiring should go to a licensed electrician. Many jurisdictions require a permit and inspection for new branch circuits.
-
Refrigerant circuit problems If you cross-thread a coupler, suspect a leak (hissing, oil residue at a fitting), or damage a line set with a bad kink, that becomes sealed-system work. It needs EPA 608 certification and refrigerant recovery equipment, so don't try to fix this yourself.
-
Complex mounting situations Tall exterior walls, roof-mounted condensers or locations that need structural backing or engineered bolts. If you need a 24-ft extension ladder and you don't own one, that's a sign to call someone.
-
Warranty considerations Most DIY warranties need installation according to the manufacturer's manual using factory pre charged line sets. If you alter the sealed system, use third-party parts or skip required electrical components, coverage may be reduced or voided. Some brands are even stricter, so always check the warranty terms before you start.
Maintenance and Longevity of a 9k DIY Mini Split
Simple routine project steps keep a DIY system delivering reliable performance over the long term for 10–15+ years.
-
Filter cleaning schedule Rinse washable filters every 2–4 weeks during heavy use. If you have pets or live in a dusty area, check every week. Let filters dry completely before you put them back in.
-
Indoor coil and blower cleaning – Check yearly for dust buildup on the evaporator coil and blower wheel. Light cleaning with a soft brush or gentle spray is DIY-safe; deeper coil cleaning (with chemical foaming agents) is best left to a pro.
-
Outdoor unit care - Keep the coil free of leaves, grass cuttings and snow. Maintaining 18–24 inches of clearance around the unit ensures proper airflow. Rinse the coil lightly with a garden hose (low pressure) once a year and inspect the fins for damage.
-
Drains and condensate issues – A clogged drain line shows up as water dripping from the indoor unit or a musty smell. Flush the flexible drain line periodically and check for kinks or upward dips where water can pool.
-
Watching for error codes - Keep your install manual accessible. Error code meanings vary by brand and model-even within brands. Two units sold under the same brand name can use different code tables depending on the series and model year, so the same code can mean different things on two units from one brand. Always match the code table to your specific model and serial number.
Who a 9000 BTU DIY Precharged Mini Split Is (and Isn't) For
Ideal for:
-
Handy homeowners comfortable with basic tools and wiring diagrams
-
People finishing bonus rooms, detached home offices, or insulated garage workshops
-
Renters with landlord approval who want better cooling performance than a window unit
-
Anyone who can't tolerate window AC noise and wants quiet operation in a bedroom or nursery
-
Budget-conscious buyers looking for high efficiency heating and cooling without a contractor's labor bill
Not ideal for:
-
Whole-house conditioning (you'll need multi-zone mini split systems or ducted solutions for that)
-
Very large open spaces where a 9K unit simply can't keep up
-
Historic homes with strict exterior appearance rules that may prohibit visible outdoor condensers or line runs
-
Users unwilling to touch electrical panels or follow wiring instructions
Climate considerations - In very cold climates, choose a 9K Hyper Heat-style model if you expect the system to be a primary heater below 10°F. Standard models lose significant heating capacity as outdoor temperature drops below 25–30°F.
Budget and time expectations - A careful first-time DIYer should plan a full day for the install, not an hour. If the electrical portion feels beyond your comfort zone, budget for a licensed electrician to handle that piece while you do the rest yourself. The money you save on the mechanical side still makes this a strong value compared to full professional installation.
Frequently Asked Questions
Do I need any HVAC gauges or a vacuum pump for a precharged 9K DIY mini split? No. When using the factory pre charged line set within the manufacturer's specified length and elevation limits, no vacuum pump, manifold gauges or refrigerant charging equipment is needed. Manufacturers' product manuals state this explicitly. If you ever need to open the sealed refrigerant circuit beyond the quick-connect couplers-because of damage, a leak or a modification-that becomes a technician's job requiring EPA 608 certification and proper recovery tools.
Can I shorten or coil extra precharged line set? You must never cut a precharged line set yourself. Shortening requires a licensed tech to recover refrigerant, cut, reflare, pull vacuum and recharge-and doing so voids the line set warranty. Modest coiling of a few extra feet of slack is generally allowed if the manufacturer permits it, but excessive coiling can impair refrigerant oil return. The safest approach is to measure your run carefully and order the closest available length.
Is 115V or 230V better for a 9K DIY system? For most homeowners, 115V is easier: many panels have spare 120V slots, the wire gauge is smaller. The breaker is a single-pole 20A. A 230V unit can handle slightly higher capacity under some conditions and may be better for longer wire runs or colder climates-but 115V at 9K BTU is the standard for a single zone small room. Some models are only available in one voltage, so check before ordering.
How hard is the install for a first-timer? It's within reach for a careful DIYer who's comfortable with drilling, measuring and reading a wiring diagram. The refrigerant side with a precharged quick-connect system is genuinely simple. The electrical portion-running a dedicated circuit, installing a disconnect, matching breaker size to the nameplate-is where most first-timers slow down. Plan for a full day of work. If the electrical piece is beyond your skill set, hire an electrician for that step and do the rest yourself.
Will a 9000 BTU DIY mini split really heat in winter? Standard models provide reliable heating down to roughly 25–30°F outdoor temperature. For colder climates, pick a model rated to lower ambient temperatures-some DIY 9K lines support heating down to -13°F, and higher-tier cold-climate models are rated lower still. Below a unit's rated low temperature, heating capacity drops sharply and you'll need backup heat.
Can I move the system later if I remodel? Technically yes, but precharged line sets are meant for one installation. Moving the unit usually means buying a new pre charged line set or hiring a pro to recover refrigerant, relocate equipment, and recharge. It's not a plug-and-play move.
Do these systems qualify for rebates or tax credits? Many high efficiency 9K heat pump mini splits qualify for state, local, and utility rebates; the federal 25C tax credit ended for equipment placed in service after December 31, 2025. Check your state's energy office and local utility program before purchase.
Wrapping Up: Choosing Your 9000 BTU DIY Mini Split
A 9000 BTU DIY mini split with a precharged line set is the right system for homeowners who want efficient, quiet, single-zone heating and cooling in a smaller space-without paying a contractor to handle refrigerant. The easy install process (mount, route, connect, wire, power up) is genuinely within reach for anyone comfortable with basic construction and electrical work, and the pre charged quick-connect design eliminates the most technical and expensive part of a traditional mini split installation.
Narrow your choice by matching four things: room size (make sure the 9K covers your square footage), climate (standard vs. Hyper Heat if you need reliable heating below 20°F), voltage available on your panel (115V is simpler for most), and brand family (accessory support, efficiency numbers and cold-climate ratings vary by brand, and Perfect Aire is a solid budget entry). For most people, the Zone Air 9K is the one to buy: it has the highest efficiency in this group, a line set cut to your exact run, and a warranty that a DIY install keeps intact.
Before you order, plan the layout, confirm your electrical panel has capacity for a dedicated circuit, measure the line run to pick the correct precharged line set length, and read the full install manual cover to cover. Staging every part and understanding every step before you pick up the drill is the difference between a smooth weekend project and a frustrating one.