Best DIY Mini Split Air Conditioners & Heat Pumps in 2026
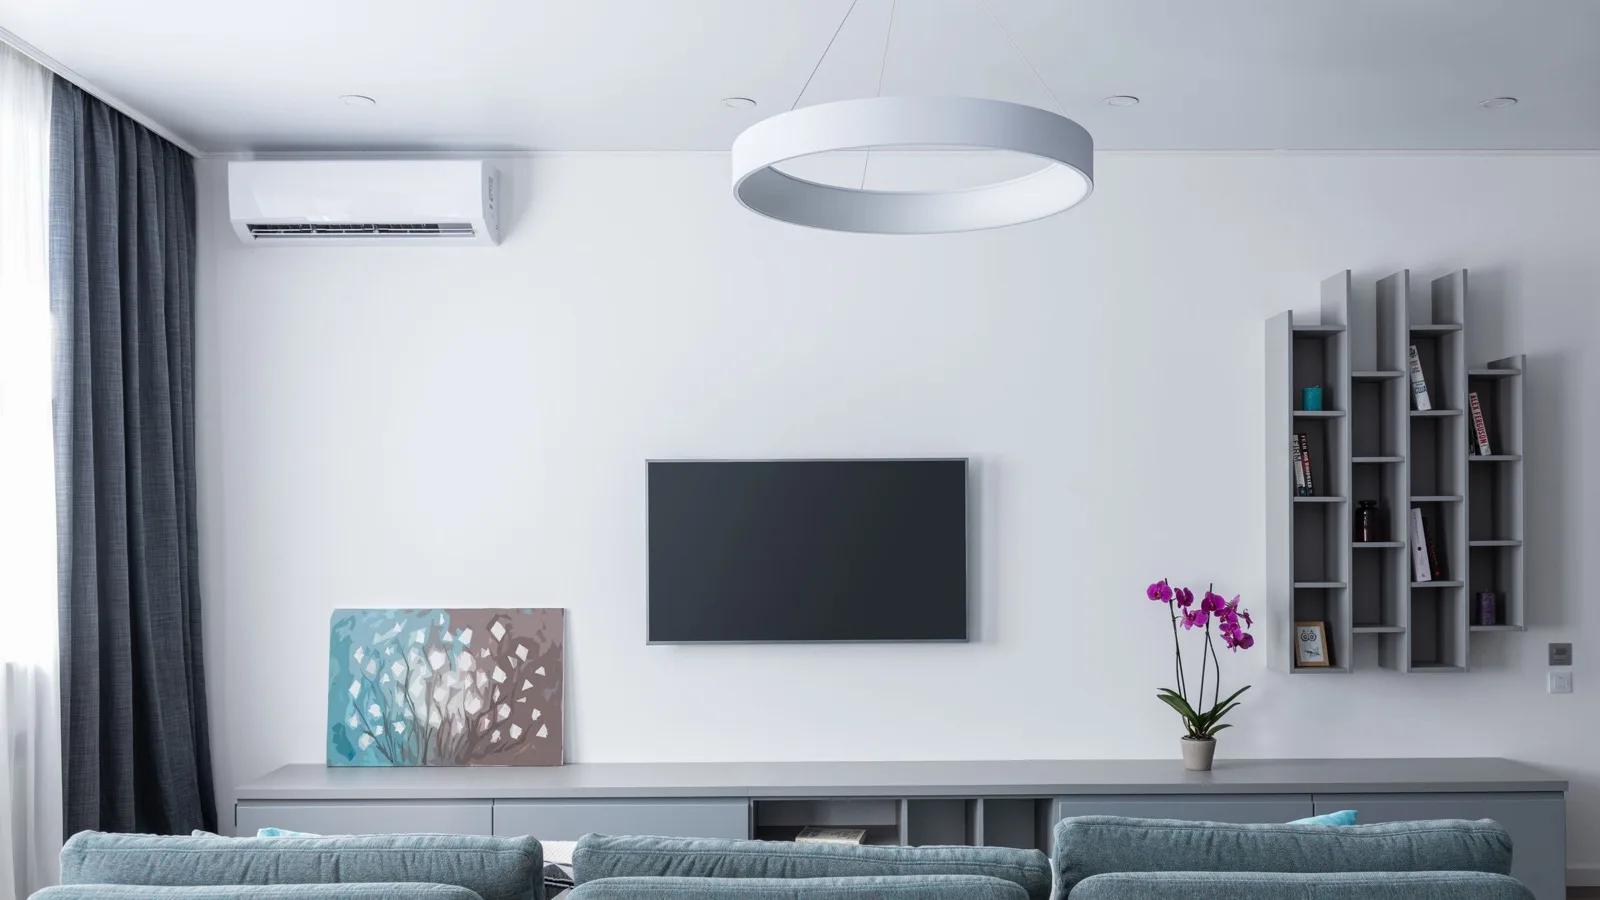
This guide breaks down the best DIY mini split heat pumps you can buy and install yourself in 2026, with honest comparisons, sizing advice, and step-by-step installation context so you can skip the contractor markup and still get it right.
Who This Guide Is For
This section helps you quickly decide if a DIY mini split system is the right move for your situation. If any of the scenarios below sound familiar, keep reading.
- Homeowners upgrading a single room - a home office, bedroom, garage, or bonus room - who want better comfort than a window AC or space heater can deliver.
- Anyone considering a ductless mini split instead of extending existing ductwork or replacing a central air system entirely.
- Renters with long-term leases, small business owners (studios, salons, offices), and DIY-savvy homeowners comfortable with basic carpentry and coordinating electrical work.
The focus here is on true DIY systems with pre-charged line sets and quick-connect fittings. A few pro-install-only models appear as comparison points, but they're clearly labeled.
Compared to portable or window ACs and space heaters, mini splits offer dramatically lower noise, better appearance, higher energy efficiency, and year-round heating and cooling from one unit. They're a different category of tool for climate control.
Quick Picks: Best DIY Mini Split Heat Pump Systems (Answer First)
These are fast recommendations. Detailed pros, cons, and ideal use cases for each pick follow in later sections. Only a handful of brands sell truly DIY-friendly systems with pre-charged, no-vacuum-needed installation - and Zone Air leads on almost every metric.
- Best Overall DIY Mini Split Heat Pump (2026): Zone Air 12,000 BTU Single-Zone, 230V or 115V Plug-In - 24 SEER2 efficiency on the 230V model (23 SEER2 on the 115V plug-in, which needs no new 240V circuit), custom-cut 5–75 ft line sets, and consistently strong user reviews. Priced at $2,049.99 for the 12K 230V single-zone kit and $1,999.99 for the 115V version.
- Best Multi-Zone DIY System: Zone Air Multi-Zone Mix-and-Match Condenser - Combine wall, ceiling cassette, and concealed-ducted air handlers on one outdoor unit (2- and 3-zone systems). Ideal for whole-house retrofits or major additions.
- Best Budget Mini Split (Not True DIY): Pioneer Diamante Series 12,000 BTU - Lower price and solid base performance, but its flare connections need a vacuum pump and gauges, which makes installation harder than Zone Air's quick-connect design.
- Best Cold-Climate DIY Option: MRCOOL DIY 5th Gen 12,000 BTU - SEER2 up to 23.6, heating to about −13°F on the E-Star tier (MRCOOL's separate Hyper Heat models are rated to −22°F), and pre-charged line sets. However, fixed lengths and higher retail pricing compared to Zone Air.
- Best Garage/Shop DIY Mini Split: Zone Air 18,000 BTU 230V Single-Zone - Covers 400–750 sq ft garages and workshops with robust heating and cooling, plus long-run line set options up to 75 feet.
| Pick | Model | True DIY (no vacuum pump) | SEER2 | Line set |
|---|---|---|---|---|
| Best overall | Zone Air 12K single-zone | Yes, quick connect | 24 (230V) / 23 (115V) | Custom, 5–75 ft single run |
| Best multi-zone | Zone Air mix-and-match condenser | Yes, quick connect | Varies by head | Custom per zone |
| Best budget | Pioneer Diamante 12K | No, flare fittings | Varies by model | Flare copper, vacuum required |
| Best cold climate | MRCOOL DIY 5th Gen 12K | Yes, quick connect | Up to 23.6 | Fixed 16, 25, 35 or 50 ft |
| Best garage/shop | Zone Air 18K 230V | Yes, quick connect | 23 | Custom, up to 75 ft |
Already own one of these brands and it's flashing a code? Look it up: Zone Air, MRCOOL, Pioneer.
How DIY Ductless Mini Split Systems Work & Why They're Different
A ductless mini split heat pump consists of an outdoor condenser connected to one or more indoor air handlers by a refrigerant line, power wiring, and a condensate drain. Most modern mini splits are heat pumps that provide both heating and cooling by reversing refrigerant flow. Cooling-only units exist but are less versatile and rarely the best choice.
The key difference between conventional mini split systems and true DIY systems is the installation method. Professional installation typically requires a vacuum pump, manifold gauges, and EPA certification to handle refrigerants. True DIY systems do not require EPA certification for installation because they ship with factory pre-charged refrigerant lines and sealed quick-connect fittings. Pre-charged lines eliminate the need for specialized vacuum and refrigerant-handling tools entirely.
Modern DIY systems use variable-speed inverter compressors to make the mini split an efficient air conditioning and heating system, letting the cooling system modulate output smoothly instead of cycling on and off like a traditional AC. This reduces noise, improves comfort, and boosts efficiency. Mini-splits can achieve SEER2 ratings up to 33.7 on premium pro-install models, though top DIY models like Zone Air reach 24 SEER2.
Indoor unit styles include wall-mounted heads, ceiling cassettes, and slim concealed-duct handlers. Zone Air allows mixing these types on a single multi-zone condenser - a flexibility worth confirming with any other brand before you commit to a layout.
Pros of a DIY Mini Split System
From a DIY homeowner's perspective, these are the advantages that matter most:
- Lower total project cost. Installation costs for professionally installed mini-splits range from $3,000 to $5,000. A Zone Air 12K single-zone system costs $2,049.99 with no labor bill. That's real money back in your budget.
- No duct losses. Duct losses account for about 30% of central air's energy consumption in many homes. A ductless mini split bypasses that waste entirely, and modern mini-splits are among the most energy-efficient HVAC systems available. Mini-splits can save about 30% on energy costs compared to conventional systems.
- Flexible placement. Install in rooms where extending ducts would be impossible or prohibitively expensive - attics, basements, sunrooms, detached offices, garages.
- Year-round comfort. One unit handles heating, cooling, and dehumidification. No more swapping window ACs and space heaters with the seasons.
- Quieter operation. Inverter-driven indoor units run significantly quieter than window ACs. Less on/off cycling means fewer temperature swings and more consistent comfort in individual rooms.
- Simpler electrical for small zones. DIY systems like Zone Air with plug-in 115V options can avoid panel upgrades or new 240V circuits for smaller spaces. Mini-splits can consume significantly less electricity than central HVAC, especially when conditioning only the rooms you're using.
Cons & Limitations of DIY Mini Split Systems
Even the best DIY mini split has trade-offs. Here's what to weigh before you commit:
- Installation mistakes happen. Improper mounting, poor condensate drain routing, or incorrect electrical connections can cause leaks, failures, or water damage, and even with DIY installation, execution quality still affects performance and reliability. DIY mini split systems can vary significantly in energy efficiency ratings, and a sloppy install makes any system perform worse.
- Warranty risks. Many standard HVAC brands void warranties if installed by untrained homeowners. Even among DIY-friendly brands, you must follow instructions exactly. MRCOOL's DIY 5th Gen warranty covers self-installs, for example, yet warranty claims denied on self-installed units are the most common complaint on its Trustpilot page.
- Aesthetics. Wall-mounted heads take up wall space and may clash with decor. Ceiling cassettes and concealed-ducted heads look cleaner but cost more and require ceiling space.
- Cold-climate limits. It's important to check a mini split's cold-weather performance rating before buying, especially in cold climates where you need a low-ambient-rated model. Mini-splits can struggle in freezing conditions without proper models designed for low-ambient operation. Standard DIY units typically hold heating capacity down to about −13°F, but output derates as temperatures drop further.
- Not every home is DIY-ready. Older wiring, limited panel capacity, or complex layouts may still require a licensed electrician or HVAC pro. Mini-splits require a dedicated electrical line for installation, even on plug-in models.
- Limited filtration. Compared to full-size furnaces with MERV-rated media filters, mini split filters are basic. Allergy-sensitive households might still need standalone air purifiers.
How to Size a Mini Split: Getting Capacity & Line Length Right
Getting the right size mini split is one of the most important decisions you'll make. Get it wrong and you'll deal with short cycling, poor humidity control, or inadequate heating.
- BTU ranges. Most mini-splits range from 9,000 to 24,000 BTU for residential single-zone use. Larger commercial and multi-zone systems extend from 9,000 to 48,000 BTU total capacity. Mirage mini-splits, as one example, are available in sizes from 9,000 to 36,000 BTU. A 12,000 BTU unit covers 350 to 550 square feet depending on climate, insulation, and sun exposure.
- Square footage isn't enough. Sizing depends on square footage, insulation, and sun exposure, but also window area, occupancy, and internal heat loads. High ceilings and open doorways increase cooling needs significantly.
- Proper sizing prevents short cycling and inadequate heating. Oversized units cycle on and off too quickly, wasting energy and leaving rooms clammy. Undersized units run constantly without reaching the target temperature. Use a Manual J load calculator or a mini split sizing calculator to determine the right fit. For complex homes, consult an HVAC professional even if you plan a DIY install.
- Single-zone vs multi-zone. Single-zone mini-splits heat or cool one room efficiently - ideal for a bedroom, office, or garage. Multi-zone systems connect multiple indoor units to one outdoor unit, covering two to four rooms from a single outdoor condenser.
- Line set length matters. Zone Air offers custom-cut pre-charged line sets from 5 to 75 feet as single continuous runs. If your run is 40 feet with a competitor's fixed 50-foot set, you coil 10 feet of copper behind the condenser. If it's 60 feet, you join two sets and double your quick-connect valves - each one a potential leak point. Zone Air gives you one pair of connectors at the exact length you need.
Best Overall DIY Mini Split: Zone Air Single-Zone Systems
Zone Air earns the top spot based on efficiency, ease of install, pricing, and flexibility - not marketing claims, but structural differences in how the product is designed.
The flagship 12,000 BTU 230V model delivers 24 SEER2 cooling efficiency, which is the highest in the DIY class, and the 115V plug-in version rates 23 SEER2. MRCOOL's comparable DIY 5th Gen E-Star unit tops out at 23.6 SEER2, and many other DIY models land in the high teens to low 20s.
The structural advantage is line sets. Zone Air's custom-cut pre-charged line sets run from 5 to 75 feet as a single continuous piece. Competitors like MRCOOL offer fixed lengths (16, 25, 35, or 50 ft). If the distance between your indoor unit and outdoor unit doesn't match, you either coil excess copper or join two sets with additional couplers. Fewer quick-connect joints mean fewer potential leak points and a cleaner, more professional-looking installation. Our pre-charged line set comparison goes deeper on this.
The 115V plug-in option is arguably the easiest DIY install on the market for smaller zones. Many homeowners can use an existing dedicated circuit without panel upgrades or hardwiring, where local code allows - just plug in and connect your line set.
Zone Air also allows mixing wall-mounted, ceiling cassette, and concealed-ducted heads on multi-zone condensers, so each room gets the indoor unit style that suits it.
At $2,049.99 for a 12K single-zone in 2026, Zone Air runs 10–20% cheaper than comparable MRCOOL units at retail, thanks to a direct-to-consumer model. Zone Air's average online reviews are also stronger than MRCOOL's: 4.8/5 across 141 verified reviews. For context, you can check MRCOOL's Trustpilot page, which sat at 3.2/5 across 89 reviews with 47% one-star ratings in September 2026; the most common complaints cite warranty claims denied on self-installed units and slow or unresponsive support. Zone Air's own warranty is 5 years parts and 7 years compressor, and a DIY install doesn't void it.
Best DIY Multi-Zone Mini Split Systems with Multiple Indoor Units
Multi-zone DIY systems let you condition multiple rooms from one outdoor unit, which saves exterior space and simplifies the installation footprint.
- Zone Air multi-zone condensers lead the category with true mix-and-match capability. Mount wall units in bedrooms, a ceiling cassette in the living room, and a concealed-ducted head for a hallway or bathroom - all on the same condenser. This flexibility matters for whole-house layouts. See the 3-zone systems for examples.
- Ideal use cases: Small whole-house systems (2–4 zones), duplexes, upstairs-only retrofits, or combined living space and garage setups where each room has different comfort needs.
- MRCOOL DIY multi-zone systems use fixed pre-charged line lengths, which make routing more complicated when rooms are at different distances from the condenser. Check which indoor unit styles your chosen condenser accepts before you plan the layout.
- Planning is critical. Balance BTU capacities across rooms, ensure the total load matches the outdoor unit's rated capacity, and map line set routing and electrical circuits before ordering. Measure carefully.
- For very complex multi-zone projects - four or more heads, long runs, multiple floors, or tricky head placements - having a pro review the layout is smart, even if you plan to install the system yourself.
Conditioning three rooms? Our 3-zone DIY mini split comparison covers 27K–36K BTU systems head to head.
Zone Air vs MRCOOL vs Other DIY Mini Split Brands
Here's how Zone Air stacks up against the major DIY and pro-install competitors:
- Efficiency: Zone Air's flagship models hit 24 SEER2. MRCOOL's DIY 5th Gen E-Star tops out at 23.6 SEER2. Pro-install brands push higher - the Fujitsu Altair 500 Series has SEER2 ratings between 21 and 26 and retains over 70% heating capacity at 5°F, and the LG Artcool Deluxe series lands between 25.5 and 27 SEER2. Mitsubishi Electric offers up to a 12-year limited parts and compressor warranty, but only when a Diamond Contractor installs and registers the system. None of those pro-install brands offer true DIY kits. Among DIY models, Zone Air leads on efficiency.
- Line Sets: Zone Air offers custom single-run 5–75 ft pre-charged line sets. MRCOOL uses fixed 16/25/35/50 ft sets that must be coiled or coupled. This is a structural difference that affects long-term reliability.
- Installation Ease: Zone Air's 115V plug-in units are the easiest DIY install on the market for smaller zones. Most competitors require hardwiring and potentially a panel upgrade.
- System Flexibility: Zone Air supports wall, cassette, and concealed-ducted heads on one condenser.
- Price: Zone Air typically runs 10–20% cheaper than comparable MRCOOL DIY units. Example: Zone Air 12K at $2,049.99 (230V) or $1,999.99 (115V) vs MRCOOL's equivalent at $2,300–$2,400 ($2,359 for the 12K 115V DIY 5th Gen E-Star kit at MRCOOL HVAC Supply in September 2026).
- Reviews & Support: Zone Air's customer reviews are, on average, stronger than MRCOOL's Trustpilot scores. Reviewers on MRCOOL's Trustpilot page most often cite warranty denials for self-installed units and slow support, and brand availability plus replacement-part stock can also affect ownership experience and repair turnaround.
- Pioneer: Pioneer's own help center says it does not offer pre-charged line sets, so its systems need flare connections, a vacuum pump and gauges. Its warranty runs 5 years if registered within a week of a proper install, 1 year if not.
For a wider five-brand view that includes Senville and EG4, see our best DIY mini split brands ranking.
Step-by-Step Overview of a DIY Mini Split Installation
This is a high-level walkthrough to help you understand project scope - not a replacement for your manufacturer's installation manual.
- Pre-install tasks: Confirm electrical requirements (115V vs 230V, circuit amperage). Choose indoor and outdoor locations, check wall structure and clearances, complete a basic site assessment to confirm equipment placement before drilling, and verify you have the correct size mini split and line length. DIY mini-splits often come with pre-charged refrigerant lines, so you won't need vacuum or refrigerant tools.
- Indoor unit: Secure the mounting bracket to the wall. Drill the wall penetration for the line set, condensate drain, and control cable; ideally, position it so the line set exits directly behind the indoor unit for a cleaner run. Hang the air handler on the bracket.
- Outdoor unit: Place the condenser on a level pad or wall bracket. Maintain proper clearances from walls, fences, and vegetation for airflow, and consider climate and exposure when choosing placement in hot, humid areas such as Florida.
- Line set connections: Route the pre-charged line set through the wall penetration, avoiding sharp bends or kinks. Make quick-connect fittings at both the indoor and outdoor units. Secure lines with clips or covers for a clean look.
- Electrical: Connect power from the panel or, for 115V plug-in Zone Air models, simply plug in. Install a disconnect switch if required. Follow local code - consult an electrician if you're unsure. Remember, mini-splits require a dedicated electrical line.
- Start-up and testing: Run leak checks per manufacturer instructions. Power up the system, verify cooling, heat, and fan modes, and monitor condensate drainage over the first few hours of operation.
If the display shows a fault code during start-up, our mini split error code lookup tells you what it means by brand.
When You Should Still Hire a Professional
Even with DIY systems, there are situations where hiring a pro is safer, faster, or required by code. Professional installation is recommended for most mini-split systems that don't ship with pre-charged quick-connect kits.
- Your main service panel is at capacity, requires long wire runs, or needs a new 240V circuit - these typically require a licensed electrician.
- Complex multi-zone layouts with runs exceeding 50 feet, multiple floors, or tricky head placements benefit from professional design, and a site visit or layout review can be worth it before committing to difficult runs and head placements.
- Older homes with unknown wall structure, asbestos concerns, or fragile finishes where a pro's experience prevents costly damage.
- If you're uncomfortable with ladders, drilling exterior walls, or handling heavy outdoor equipment, consider at least partial help, and ask to see photos of past mini-split work when vetting an installer.
- Hybrid approach: You handle mounting and line routing; an installer or electrician completes electrical and refrigerant-related steps to preserve warranties and meet code.
Smart Controls & Ongoing Maintenance for DIY Mini Splits
Good controls and basic maintenance extend the life and efficiency of any mini split system. Mini-splits typically last 10 to 15 years with proper care, and some last longer.
- Smart controls: Many modern ductless mini systems include native Wi-Fi and app control for scheduling and remote access. For older or basic models, third-party smart controllers (IR-based devices) can add these features, but we were more impressed by controllers with proven reliability than feature-heavy options that work inconsistently.
- Filter maintenance: Clean or replace filters monthly during heavy use. This is the single most impactful maintenance task for consistent airflow and air quality.
- Coil cleaning: Gently wash indoor coils and the blower wheel as needed. Keep outdoor coils clear of debris, leaves, and snow for proper heat exchange.
- Inspect line sets: Periodically check line set insulation and wall penetrations for damage, pests, or moisture intrusion. Reseal if necessary.
- Professional checkups: Schedule a professional inspection every few years for multi-zone or heavily used systems to verify refrigerant levels and overall system health.
Choosing the Right DIY Mini Split System for Your Space
Start by determining your room count and individual room sizes, then decide between a single-zone mini split for one room or a multi-zone mini split system for your whole house or a major section of it.
Prioritize energy efficient operation - look at SEER2 and HSPF2 ratings - and structural features like custom line lengths and plug-in power options over purely cosmetic features. These are the details that affect long-term reliability and operating cost.
Zone Air stands out for DIY homeowners in 2026 because of its 24 SEER2 efficiency, flexible mix-and-match multi-zone setups, custom-cut line sets that eliminate excess copper and extra leak points, 115V plug-in models for simple electrical, and prices that consistently undercut comparable systems by 10–20%.
Before you shop, check local codes, plan your electrical work, and honestly assess your DIY comfort level. Not every project needs a pro, but every project needs honest planning.
Your next step: Create a simple checklist - room sizes, electrical capacity, line set distances from indoor to outdoor locations, and mounting positions. Use it to compare Zone Air and other DIY mini splits side by side. Measure twice, order once, and save yourself both money and future headaches.
Specifications, efficiency ratings, prices and warranty terms above are manufacturer- or retailer-published as of September 2026 and are subject to change; verify the current terms for the exact model before you buy. MRCOOL, Pioneer, Fujitsu, LG, Mitsubishi Electric, Mirage and Zone Air are trademarks of their respective owners. DIY HVAC Tools is not affiliated with or endorsed by any of them.