How to Install a Pre-Charged Quick Connect Line Set
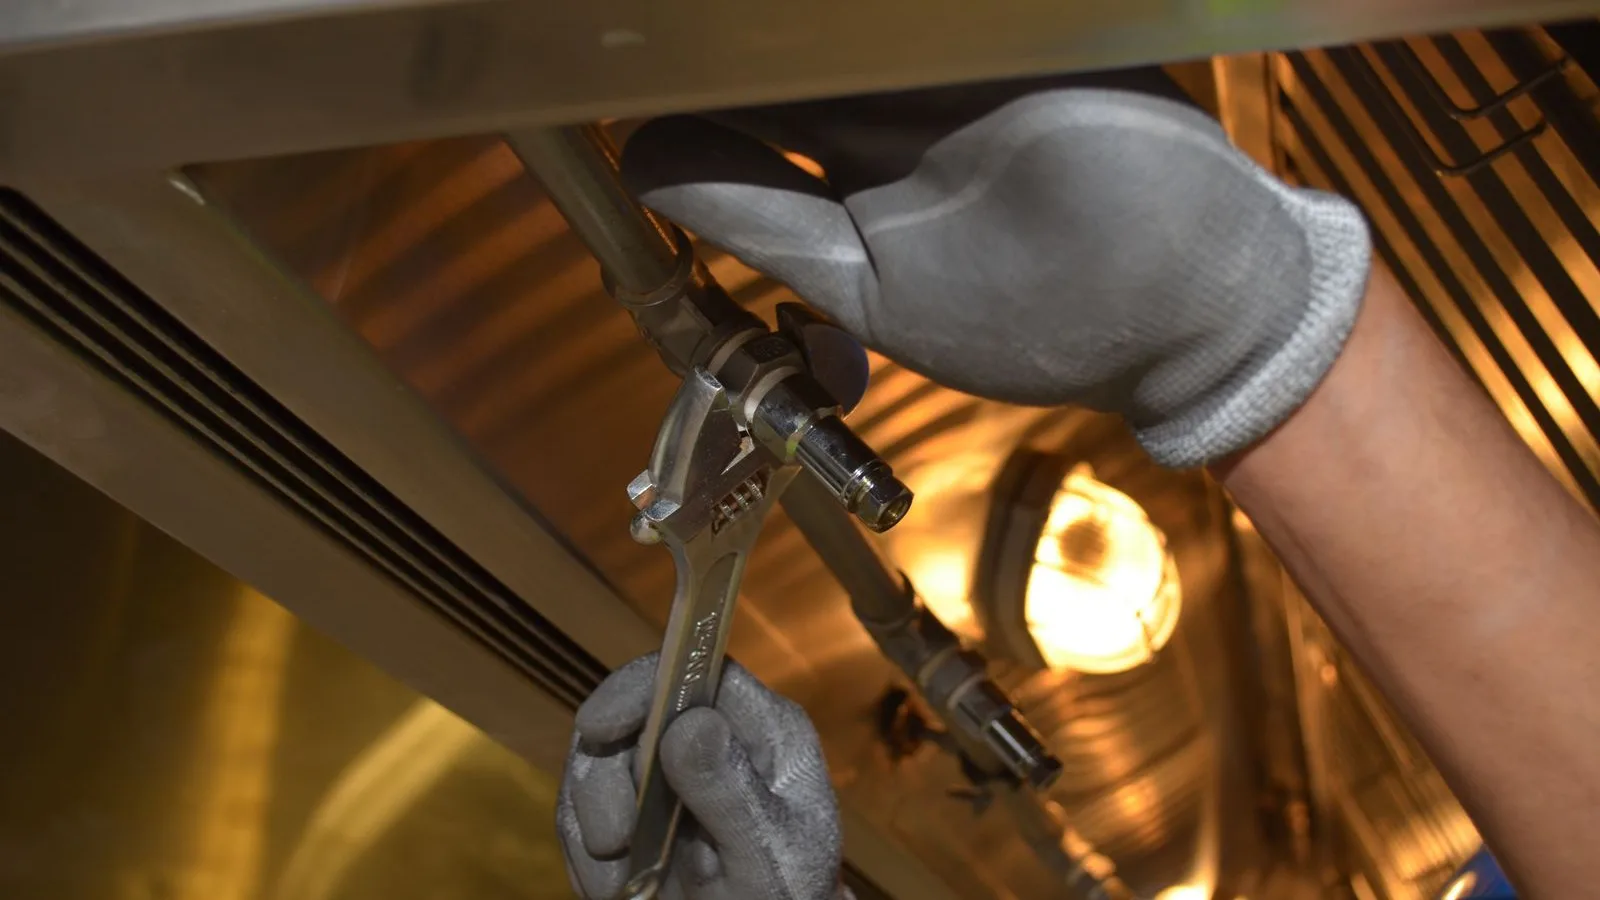
A quick connect line set joins a mini split's indoor and outdoor units with no flaring, no vacuum pump and no refrigerant handling. On the refrigerant side, it's about as hard as hooking up a washing machine. The parts that still trip people up are measuring, routing the tubing without kinking it, and tightening each coupling the right way. Here's how to get those right.
What's inside a pre-charged coupling
A line set is two insulated copper tubes. The thin one carries liquid refrigerant to the indoor coil. The fat one brings vapor back to the compressor. With a traditional set, a tech flares the open copper ends, connects them, pressure-tests the joints and runs a vacuum pump before releasing the charge.
A pre-charged set gets sealed and charged at the factory instead. Each end has a threaded coupling with a spring-loaded valve inside it. When you thread it onto the matching port and snug it down, an O-ring or gasket seals first, then the two valves push each other open. No air or moisture gets in. The circuit stays closed all the way from the factory to your wall.
Makers test these couplings hard. MRCOOL says its DIY line sets pass a 400 PSI hydrostatic test and hold more than 500 pounds of pull. Not everyone trusts spring fittings, though. Pioneer's own help center says it doesn't offer pre-charged line sets because of spring-fitting reliability, and it ships flare connections instead. So a "DIY" label on the box doesn't guarantee quick connect. Look at the fittings.
Pick the length before you order
The factory charge is sized for a maximum length, so length comes first. Go longer than the charge allows and the system can run short of refrigerant, lose capacity and put the warranty at risk.
- Trace the real route with a tape measure. Start at the indoor unit's pipe outlet, go through the wall and down or along the siding, around any corners, and stop at the condenser's service valves. A straight line on a floor plan will come up short.
- Check the height difference. Your manual gives a maximum rise between the indoor and outdoor units, and a second-floor room eats length fast.
- Add a few feet so you can make gentle bends.
How you get that length depends on the brand. MRCOOL sells fixed pre-charged sets in 16, 25, 35 and 50 ft, and uses a coupler kit to join two sets for the longest runs. Zone Air builds each set to order from 5 to 75 ft in whole feet, so you don't end up storing leftover copper. Rough guide:
| Where the condenser sits | Typical need |
|---|---|
| Directly behind the indoor unit, ground floor | 16 ft or less |
| Along the same wall or around one corner | About 25 ft |
| Second story, or across the back of the house | 35–50 ft |
| Long runs to a detached pad | 50 ft and up; check the manual's maximum |
With a fixed-length set, you coil the extra near the condenser. Most manuals want a loose horizontal loop, not a tight vertical stack, so copy the drawing in yours. If you use a coupler to join two sets, that's one more pair of joints to leak-check.
Tools you still need
No vacuum pump doesn't mean no toolbox. For a typical wall-mount job:
- A level, a stud finder and a drill with a hole saw that matches the wall sleeve. About 3 in is common.
- Two wrenches per coupling, one to hold the body and one to turn the nut. If your manual lists a torque value, use a torque wrench with a crowfoot adapter.
- Soapy water in a spray bottle, or a leak-detection solution.
- UV-resistant tape or a line-set cover for tubing that'll sit in the sun.
- Somebody to help lift the condenser onto its pad or bracket.
Connecting the line set, step by step
Your manual wins over anything here. Local code decides whether the electrical side needs a permit or an electrician.
- Hang the indoor bracket level and screw it into studs. A head that sits off level won't drain its condensate properly.
- Bore the wall hole with a slight slope down toward the outside, so water and the drain hose run out instead of in.
- Keep the dust caps on until the second you join each coupling. Grit on an O-ring is a leak waiting to happen.
- Uncoil slowly. Roll the tubing out along the ground instead of pulling it off the coil, and bend it by hand around a wide radius. A kink restricts flow and can crack the copper.
- Connect the indoor end first. Then feed the bundle (lines, communication cable, drain) through the sleeve and connect the outdoor end last.
- Start every coupling by hand. It should spin freely for several turns. If it binds early, back it off and line it up again, because cross-threading ruins the fitting.
- Tighten with two wrenches in one smooth, continuous pull to the specified torque. Stopping halfway can let refrigerant slip past a half-open valve.
- Clamp the lines to the wall so the fittings aren't carrying their weight.
- Start the system and do the leak check below. Then confirm it blows cold in cool mode and warm in heat mode, and that water is coming out of the drain.
The leak check you shouldn't skip
With the unit running, coat every quick connect joint in soapy water, top and bottom, and watch for a minute. Tiny clustered bubbles or foam that keeps growing means refrigerant is getting out. Tighten to spec and test again. If it still leaks, stop. Do the check a second time after a day of running, since fittings can settle after the first few heating and cooling cycles. An electronic detector picks up slower leaks than soap will.
If a joint won't seal, or a line gets kinked or cut, fixing it means opening the refrigerant circuit. That's a job for a technician. Since 2018, buying HFC refrigerant like R-410A or R-454B in containers over 2 lb has required EPA Section 608 certification. You can legally install a sealed system and still have no way to top it off yourself.
Where most DIY line set problems come from
- Ordering off a guess. A set that's too short can't be stretched, and you can't cut a pre-charged line to fix it the other way either.
- Tight bends around corners or through joist bays. They flatten the tubing, so stay within the bend radius in the manual.
- Cross-threaded or half-tightened couplings. This is where most leaks start. Hand-start, then tighten in one continuous pull.
- Lines left hanging from their fittings, which strains the joints over time.
- Bare insulation in direct sun. Foam breaks down under UV, so wrap or cover exposed runs.
- Mixing parts. An aftermarket coupler or another brand's line set can end your warranty coverage. Stick to what the kit approves.
- Skipping the second leak check. A joint that passes on day one can still weep after a few cycles.
When to call a pro
Anything that opens the refrigerant circuit goes to a licensed technician. That includes stretching a run past the factory-charged limit, adding charge and repairing a damaged line. An electrician should handle a new 230V circuit, panel work, or a disconnect you're not comfortable wiring. Plenty of homeowners mount the units and connect the line set themselves, then pay only for the electrical hookup. That alone saves most of the labor bill.
If the system starts but throws a code, look it up before you reset anything. Our error code lookup covers the major DIY brands.
Quick connect line set FAQ
Do I need a vacuum pump for a quick connect line set?
No. The set ships sealed with refrigerant already inside, and the valve in each coupling stays shut until the fitting is fully tightened. Air never gets in, so there's nothing to pull out. A vacuum pump only comes into it if the refrigerant circuit gets opened, and that's service work for a certified tech.
Can I cut or shorten a pre-charged line set?
No. Cut the tubing and you lose the charge and the sealed fitting, which turns your install into a flare-and-evacuate job and usually voids the warranty. Order the length the route needs. Some sellers build sets to a custom length. Others sell fixed lengths and you coil what's left over.
How do I know if a quick connect fitting is leaking?
Brush or spray soapy water over every joint with the system running. A leak shows up as bubbles or foam that keeps growing, usually within a minute. An electronic leak detector will catch smaller ones if you have one. Check again after the first day, once the fittings have seen a full heating and cooling cycle.
What length quick connect line set do I need?
Measure the path the lines will actually take: the drop down the wall, every bend, the run to the service valves. Then add a few feet. A condenser right behind the indoor unit usually works with a 16 ft set. One a short way along the house often needs 25 ft. Upstairs rooms and back-of-house spots tend to need 35 ft or more.
Do I need EPA 608 certification to install a pre-charged mini split?
Not for making the connection. A sealed quick connect install never opens the refrigerant circuit. Certification matters once refrigerant has to be added or recovered, and since 2018 you've needed a Section 608 certificate to buy HFC refrigerant like R-410A or R-454B in containers over 2 lb.
Line set lengths, test figures and refrigerant rules above are manufacturer-published or taken from EPA guidance as of September 2026 and may change. Your unit's installation manual and local code take precedence over this guide. Brand names are trademarks of their respective owners.