How to Troubleshoot a Mini Split at Home: DIY Fixes
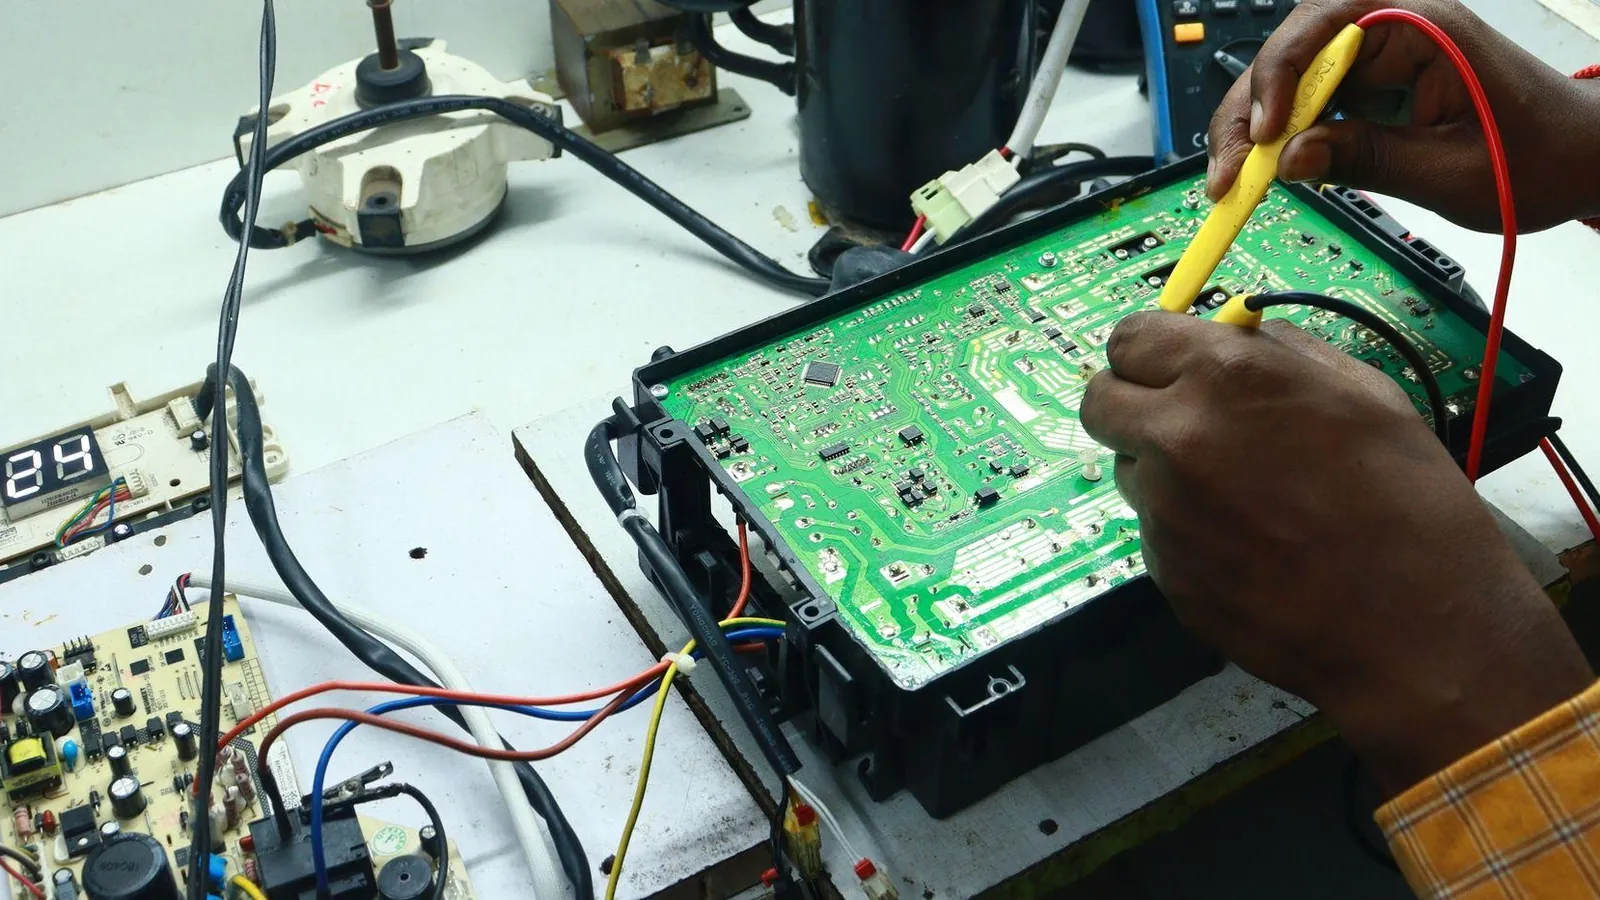
Most common mini split problems start with something you can check in under five minutes. Before you call anyone or start pricing out a costly mini split repair, work through the basics: power, settings, filters, airflow, and drainage. This post walks you through every DIY check worth doing and tells you exactly where the line is between your job and a technician's job.
Key Takeaways
-
Starting with safe checks you can do yourself, check the power, the mode settings, dirty filters, blocked outdoor units and a clogged condensate drain line before you assume there are major mini split issues.
-
If your mini split is not cooling or not heating, most repairs you can do involve cleaning filters, coils and drains and repair airflow and settings. You should not touch the refrigerant.
-
When water leaks from the indoor head, that almost always points to a problem with the condensate drain line, a frozen coil or a unit that isn't level.
-
Persistent error codes, repeated breaker trips, refrigerant leaks or work that requires gauges and a vacuum pump belong to an EPA 608–certified HVAC technician.
-
With your owner's manual, you can use error code look-up tools to read the codes and decide what you can safely check at home.
How a Ductless Mini Split System Works (Quick Primer)
A ductless mini split can move heat between your room and the outdoors using two connected pieces of equipment: an indoor air handler and an outdoor unit. The lines that run between them can carry refrigerant, a control wire and a condensate drain line. Inside the indoor unit there is usually an evaporator coil and a fan. Inside the outdoor unit there is usually a compressor and condenser coil. In cooling mode it is pulling heat out of your room, and in heating mode it switches direction. These systems are efficient because most use inverter-driven compressors that ramp up and down instead of cycling on and off, which is why short cycling or weak output feels wrong when it happens.
The refrigerant circuit is sealed. Under normal operation refrigerant doesn't get used up, so low levels almost always mean there is a leak that needs to be repaired by a professional.
-
Filters, front cover, drain hose, outdoor coil area
-
The sealed refrigerant lines, the service ports, the compressor and the inverter boards
Mini Split Won't Turn On
This is one of the most common problems, and many no-start issues are simple power or control problems. Cleaning air filters and checking remote settings are things you can do yourself for mini splits, but you should start even simpler:
-
Confirm the wall outlet or disconnect is on.
-
In the main panel, check the dedicated breaker.
-
Make sure the outdoor unit disconnect switch is fully in place.
-
For the remote control batteries, check them and replace them if they are weak. A mode setting on the remote that isn't right can cause the unit to blow warm air in cooling mode, so make sure it's set to Cool or Heat, not Dry or Fan.
-
Make sure nothing is blocking the IR sensor on the indoor head.
-
By turning off the breaker for five minutes, then restoring power, you can reset the system. Resetting can fix temporary electronic problems that lock a ductless mini out.
-
Look under the front cover for a small manual button or emergency operation button. Press it to test whether the unit runs without the remote.
Call a professional if: the breaker trips again right after reset, you see burned electrical wiring at the outdoor unit, or you smell burning from the equipment. If power is present and there's no obvious wiring issue but the system still won't respond, it's probably a failed control board or communication fault that needs professional assistance.
Mini Split Not Cooling or Heating Properly
In real homes, "not cooling properly" looks like the room never reaching the setpoint, the unit running all the time, or weak airflow even though the fan is turning. Frozen coils can also keep mini splits from heating properly. If yours isn't cooling right, work through these checks before calling an expert:
-
Confirm mode and setpoint: Cool for summer, Heat for winter, fan on Auto and make sure the vents are pointed into the room.
-
Open the indoor unit and inspect the air filters. Clean them every 2-4 weeks during heavy use. Dirty filters can reduce cooling performance a lot, cutting airflow by 25–50%.
-
With a flashlight, check the indoor coil behind the filters for dust buildup or ice buildup. Ice that keeps coming back on coils may show there is a refrigerant fault.
-
Outdoor units should be inspected regularly for restricted airflow. Clear vegetation within 2–3 feet, remove leaves and debris from the coil fins, and make sure snow or stored items are not blocking exhaust air. You'll need at least 2 feet of clearance around the outdoor unit for it to operate properly.
Signs of deeper trouble: outdoor unit never starts, lines never get cool or warm when running, or low refrigerant levels that often lead to cooling issues. Checking or adding refrigerant charge needs EPA 608 Type II or Universal certification under 40 CFR 82.161. You shouldn't attach gauges or hoses to a split-system mini split's service ports.
When to call a pro: no improvement after cleaning filters and coils, obvious frost on the outdoor unit outside of defrost mode cycles, or a big performance drop after many years of normal operation that suggests a leak or failing compressor. Contact an HVAC technician for refrigerant leak issues.
Water Leaking From the Indoor Unit
-
Remove the front cover, shine a flashlight into the pan, and look for standing water, gunk or algae at the drain outlet.
-
Outside, find where the PVC or vinyl tube ends. For clogs from mud, insects or debris, check the condensate drain lines.
-
Use a wet/dry vacuum on the outside end of the condensate drain line for 30–60 seconds to clear blockages. Clogged condensate drain lines can cause water leaks.
-
If the indoor unit is crooked, water can pool on one side of the pan and drip from the cover. Using a small level on top, you can contact the installer if the tilt is obvious.
-
Avoid strong chemical drain cleaners, which can damage plastic parts and pumps. Use mild detergent or condensate pan tablets instead.
Call a technician for: clogs that keep coming back, a failed condensate pump or leaks linked with heavy coil ice or error codes for indoor temperature sensors. Persistent water leaks need immediate professional attention.
Strange Noises, Smells and Other Mini Split Problems
| Symptom | Likely Cause | DIY or Pro? |
|---|---|---|
| Rattling | Loose indoor panels, filters not latched | DIY: re-seat and tighten |
| Buzzing | Debris in outdoor fan, electrical issues | Check debris; if persistent, call pro |
| Grinding | Failing fan motor | Pro |
| Popping | Normal plastic expansion | Normal |
| Musty smell | Mold in drain pan or on coil | DIY: clean filters, consider coil-safe cleaner |
| Sweet/chemical smell | Possible refrigerant leak | Pro - shut off breaker immediately |
| Fishy/burning smell | Electrical wiring issue | Pro - stop use, contact professional |
Mini-splits may produce unusual noises due to mechanical issues, and unusual noises from your mini split indicate a need for professional help if basic tightening doesn't fix the sounds.
In winter, a normal outdoor defrost cycle produces steam rising off the outdoor coil, the fan stopping briefly and a loud sound as refrigerant changes direction. That is normal, not a sign that something is wrong.
Short cycling (unit turns on and off every few minutes) can stem from thermostat placement, oversized equipment, dirty filters or failing sensors. Beyond basic cleaning and filter maintenance, it's a technician's job to diagnose.
Error Codes and Calling a Technician
Modern mini splits use flashing LEDs or digital error codes to report specific errors. Error codes and flashing lights show a detected operating error. They're the fastest way to narrow down common problems.
-
Find the indoor unit's model number on the side or behind the front cover. Keep your owner's manual handy.
-
Use online error code look-up tools: type the brand and code to see potential causes and homeowner-safe checks.
-
Be aware that the same brand can act differently by model. According to the Lennox Corp1816-L7 mini split service manual (10/2020), classic Midea-style codes are used on MPA/MPB/MLA units, while MCB/MWCB models use four-character codes.
-
Some hybrid solar mini splits like EG4 show two-digit number codes where 03 is indoor/outdoor communication, and 31/32 show indoor air or evaporator sensor issues. These are rarely DIY solutions.
| You can safely… | Leave to a technician… |
|---|---|
| Reset power | Open sealed outdoor panels |
| Clean filters and coils | Attach gauges or hoses to service ports |
| Clear the condensate drain line | Replace sensors or control boards |
| Verify outdoor clearance | Add or recover refrigerant |
Under 40 CFR 82.161, connecting gauges or hoses to a split-system mini split's service ports requires EPA 608 Type II or Universal certification, even just to check the pressure. EPA 608 has four certification types: Type I (small appliances), Type II (high-pressure equipment such as mini splits), Type III (low-pressure), and Universal; certification never expires.
The pre-charged system exception under 40 CFR 82.154(c)(1)(vii) lets manufacturers sell fully sealed, pre-charged mini splits to homeowners because the refrigerant circuit is put together at the factory. Installation does not need you to add refrigerant unless there's a problem.
Call a pro now if you see: error codes that keep coming back after reset, ice forming on the indoor or outdoor coils, visible oil stains on refrigerant lines, breaker trips that return immediately, or any sign of sparks or melted insulation.
Preventing Future Mini Split Issues
Regular maintenance is the easiest way to avoid mini split repair bills and keep the system running at peak efficiency for 10–15 years. Regular maintenance can prevent most common mini split issues. You'll want to schedule annual professional maintenance for best performance.
-
Clean indoor filters every few weeks during the peak of the cooling and heating seasons.
-
Gently rinse outdoor coils with low-pressure water each spring.
-
Vacuum around the outdoor pad to keep weeds and debris away. Check outdoor airflow clearance monthly during heavy use.
-
Check the start and end of the condensate drain line at least at the beginning and middle of every cooling season to confirm steady water flow and no visible algae buildup.
-
Keep a simple log of when you clean filters, any error codes seen, noises or leaks. This helps both you and any future technician troubleshoot mini split system behavior faster.
Mini Split Troubleshooting FAQ
Can I recharge my mini split myself if it's low on refrigerant?
No. Under EPA 608 rules, a split-system mini split is high-pressure equipment, and anyone who attaches or takes off hoses and gauges must hold Type II or Universal certification along with proper tools like a vacuum pump and micron gauge. If the system is low on refrigerant charge, it almost always means a leak that must be found, repaired, evacuated and filled back up to the exact weight on the unit's nameplate by a licensed technician.
How do I know if my mini split has a refrigerant leak?
Common signs include steady loss of cooling or heating over weeks, longer run times, ice on the indoor or outdoor coil, hissing near connections and sometimes oily spots on refrigerant lines at flare joints. Low refrigerant levels often show there is a leak that needs repair. While these are signs, only a certified technician with the right tools can confirm a leak and legally fix and recharge the system.
How often should I clean the mini split filters and drain line?
Clean filters that you can reuse every 2–4 weeks during heavy use and at least at the start of each heating and cooling season. At least once each cooling season, check and, if needed, vacuum or flush the condensate drain line to reduce the risk of clogged lines and water leaking from the indoor unit.
Do you need a pro?
Handling a lot yourself is possible: filters, basic coil rinsing, drain cleaning and visual inspections of the indoor and outdoor unit. But periodic professional visits still add value. Technicians can test electrical components, verify operating pressures and temperatures, and spot early refrigerant or sensor problems that aren't visible but directly affect efficiency and how long the system lasts. Thinking of it as an install-once, maintain-forever approach keeps your system reliable for many years.
Figures and specs above are as published in October 2026 and may change. Your own unit's installation manual and local code take precedence. Brand names are trademarks of their respective owners, and this site is not affiliated with them.