How to Test a Mini Split Capacitor: Step-By-Step Guide
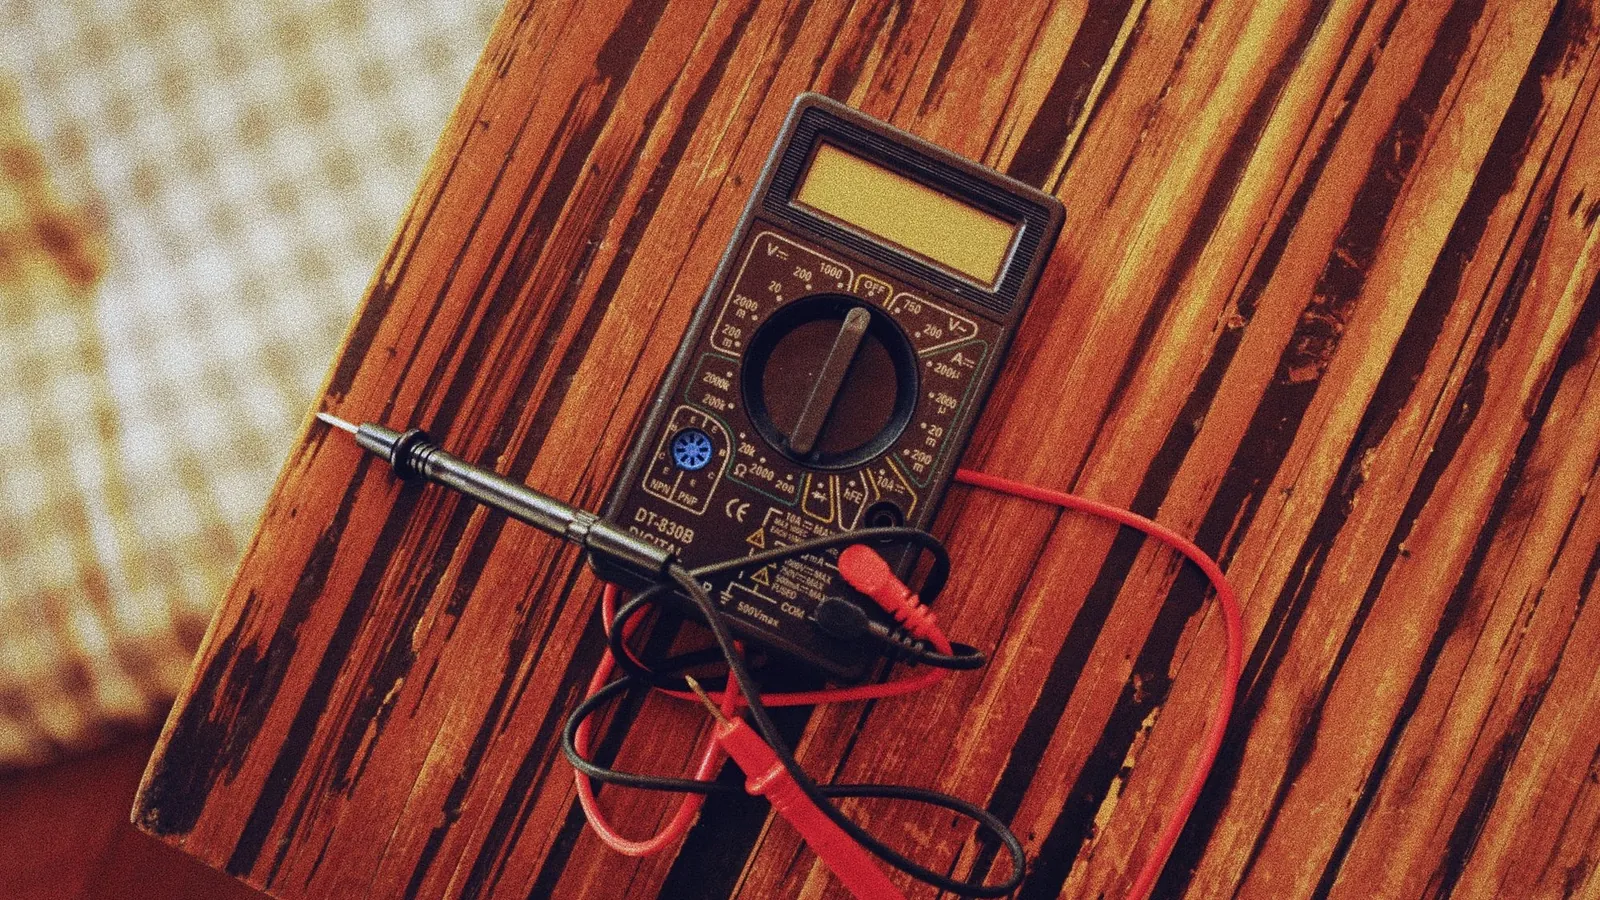
A mini split outdoor unit that hums but won't start is one of the most common service calls, and the culprit is often a $10–$20 run capacitor. You can test it yourself with a digital multimeter before paying for a truck roll. This step by step guide covers safety, tools, the actual test, and how to read your results.
Key Takeaways
-
The capacitors in a mini split AC sit inside the outdoor unit, and they are a common reason the system won't start, only makes a buzzing sound, or the fan won't spin.
-
You can test a mini split run capacitor at home with a digital meter that has a setting for farads, shown with the μF mark. You also need an insulated screwdriver.
-
It's important to always shut off the power at the breaker and at the outdoor disconnect, then discharge the capacitor before you touch any of its terminals.
-
If the measured farad reading is more than about 6–10% below the rating printed on the capacitor label, the part is weak and should be replaced.
-
Bad AC capacitors on ductless systems are often caused by frequent power surges, overheating and blocked airflow around the outdoor unit.
How a Capacitor Affects Your Mini Split
AC capacitors are mainly put into two types: start and run. Start capacitors give the motor the initial energy it needs to get going, then they disconnect after the motor reaches the speed it needs to run. Run capacitors keep the voltage steady while the AC is operating. They run the whole time the air conditioner is on, keeping the torque steady so the motors spin smoothly.
Many modern mini splits have inverter-driven compressors instead of traditional capacitors for the compressor motor. But the outdoor fan motor still needs at least one AC capacitor. That capacitor stores and releases small bursts of electrical energy to keep the fan working properly when it is under load. When it fails, the fan won't spin, the unit may only hum, or the system trips its breaker on startup.
Signs of a Bad Mini Split Capacitor
Before you grab your tools, check whether the symptoms you see point to a problem with the capacitor:
-
Hard starting or no start. The AC won't start at all when the capacitor fails. The condenser fan may spin slowly or not at all.
-
Short cycling. Frequent on-and-off cycling can be a sign of a failing capacitor that can't keep up the motor torque.
-
Warm air from vents. Warm air may blow from the vents instead of cold air because the outdoor unit can't run its compressor or fan the right way. The system stops blowing cold air even though the indoor unit seems fine.
-
Humming noise. A loud humming noise from the outdoor unit shows potential capacitor failure.
-
Visual damage. A swollen or bulged top on the metal can, oil leaking around terminals or burn marks on connectors are early signs of a bad ac capacitor. Some faulty capacitors show no outside damage at all, so a multimeter test is the only way to confirm.
Check your brand's error codes for problems with the fan or compressor. Many units will log a code before the part fails completely.
How to Test a Mini Split Capacitor
Capacitors can store dangerous electrical charges even when the power is turned off. On a 230 V mini split, which is standard for most installations in the US, a charged capacitor can deliver a shock that hurts or causes harm.
Always disconnect the power before you test an AC capacitor:
-
Turn off the dedicated breaker at your indoor electrical panel.
-
You will need to switch off or pull the outdoor disconnect box next to the unit.
-
Wear safety glasses, insulated gloves and closed-toe shoes. Take off metal rings, watches or bracelets.
If you are not sure which breaker sends power to the mini split, or you don't feel comfortable working around live panels, call an HVAC technician. Any work on the sealed refrigerant circuit or inverter boards is not a job to do yourself.
Tools You Need to Test a Mini Split Capacitor
| Tool | Purpose |
|---|---|
| Digital multimeter with capacitance (μF) setting | Measures actual capacitance; resistance-only meters cannot evaluate this |
| Insulated screwdriver (rated handle) | Discharge stored electrical charge from terminals |
| Nut driver or Phillips screwdriver | Remove outdoor unit service panel |
| Needle-nose pliers | Pull spade connectors without damaging wire insulation |
| Smartphone or marker/tape | Document wire positions before disconnecting |
| Flashlight or headlamp | See inside compact outdoor cabinets |
Use a reliable meter with a capacitance range. Cheap meters with only an ohms function cannot measure real capacitance and may lead you to misdiagnose a bad part as good.
How to Test a Mini Split Capacitor Step by Step
This section will walk you through the steps to find, discharge, remove and test the capacitor in your outdoor unit. Work in a careful way and go step by step, and stop if anything looks different from what your unit's wiring diagram shows.
Turn Off and Verify Power Is Disconnected
After you switch off the breaker and the outdoor disconnect, use your meter set to AC volts to confirm there is zero voltage between the line terminals inside the outdoor unit. A voltmeter should be used to confirm zero voltage before you handle any parts of the circuit. Wait two to three minutes for any low-voltage power on the control boards to bleed down. Skipping this step is the most common and dangerous mistake you can make when doing this work yourself.
Find the Capacitor in the Outdoor Unit
To remove the side or front service panel, you usually need to take out several Phillips or hex screws. The capacitor looks like a round tube or an oval metal can with two or three groups of flat blade terminals on top, and it is strapped near the contactor or control box. Compare the part number and the μF and voltage rating on the capacitor label with the wiring diagram inside the service panel. Some inverter models have more than one small run capacitor. To find the fan capacitor specifically, trace the wires from the fan motor.
Discharge the Capacitor Safely
Discharge the capacitor using an insulated screwdriver before you test it. With gloves and glasses on, bridge the two main terminals with the tip of the screwdriver for one to two seconds. On a dual capacitor with three terminals, repeat this between all of the terminal pairs. A small spark is normal. Wait 30–60 seconds and bridge again to make sure no charge is left.
Label and Disconnect the Capacitor Wires
Disconnecting wires must be documented for accurate reconnection during testing. Take close-up photos of the terminals and wires from multiple angles. Label each wire with tape if terminals are not clearly marked ("C", "FAN", "HERM"). Use needle-nose pliers to gently wiggle spade connectors off the terminals rather than pulling on wire insulation. Once free, carry the capacitor to a dry surface for testing.
Measure Capacitance With Your Multimeter
Set your digital multimeter to the capacitance range (μF symbol). Touch the multimeter leads to the capacitor's two terminals. For a dual capacitor, step between C and FAN, then between C and HERM separately. Hold steady contact and wait several seconds until the reading stabilizes on the meter display.
Compare Your Reading to the Rated Value
Testing a capacitor involves comparing its measured value to its rated specification. Check the capacitor label for its μF value and tolerance. If no tolerance is printed, capacitance readings should be within ±6% of the rated value to confirm capacitor health.
Concrete examples: a 35 μF capacitor reading 32 μF is borderline. A 40 μF reading 30 μF is clearly bad and should be replaced. A reading of 0 μF shows a failed capacitor. "OL" or wildly fluctuating numbers that never settle also mean failure.
A stable multimeter reading should fall within the manufacturer's specified tolerance range. Cornell Dubilier says run-capacitor capacitance varies by no more than ±3% across the rated temperature range, so a reading well out of tolerance on a hot day is not just the heat. The part has degraded.
With a new capacitor costing only $10–$20, a replacement fan motor or compressor costs hundreds. Repeat the test once to confirm. If borderline, replace anyway.
Call a Technician or Replace It Yourself
Once you know the capacitor is bad, a like-for-like swap (same μF, equal or higher voltage rating) is reasonable DIY if the wiring is clearly labeled and you followed all safety steps.
Call a pro when you see burned wiring, melted terminals, repeated capacitor failure in the same season, or visible damage to other components like the control board or reactor. If your mini split is under warranty, replacing the capacitor yourself could void coverage. Check your terms first. If the unit still throws error codes, won't start or trips the breaker with a new capacitor, deeper issues (inverter board faults, seized motors, refrigerant problems) require an HVAC technician with EPA 608 certification.
Preventing Future Mini Split Capacitor Problems
Most capacitor failures occur from heat, electrical stress and wear over time. To reduce additional strain, try a few habits:
-
Keep leaves, lint and debris away from the outdoor unit and leave at least 12–24 inches of clearance so the electrical components don't get too hot.
-
Install a whole-house surge protector or a dedicated HVAC surge device. Power surges from lightning or grid instability degrade the material inside the capacitor over time.
-
Avoid rapid thermostat swings and constant on/off cycling, which put extra strain on motors and capacitors when they start up.
-
Schedule seasonal maintenance each spring or fall. A technician can test capacitor values, tighten connections and catch early signs of drift before the part fails completely.
FAQ About Mini Split Capacitor Testing
Here are some common questions you might ask after you learn how to test a mini split capacitor.
Can You Test a Mini Split Capacitor Without Removing It?
Not accurately. Leaving the capacitor wired in lets the tester see parallel paths through motors and boards, which produces a false reading. For a reliable measurement, you will need to disconnect at least one lead so the meter looks at only the capacitor.
Why Does the Unit Still Hum After a New Capacitor?
If a correctly rated replacement tests good but the unit only makes a humming noise, the capacitor is not the culprit. A seized fan motor, locked compressor, bad contactor or inverter board failure can all produce the same symptom. Why keep forcing the system to start? Repeated tries can overheat and permanently damage motors. Call a technician.
Using a Different Capacitor on a Mini Split?
The μF rating must match exactly. Using a higher or lower value causes motors to overheat, run in a way that wastes energy, or fail early. Only the voltage rating is allowed to be equal or higher than the original. Never lower.
How long do mini split capacitors last?
The typical range is 8–15 years in moderate climates. In hot regions like Arizona, outdoor unit capacitors often fall in the 3–7 year range because of extended running hours and heat exposure. Blocked airflow and poor maintenance shorten life further.
Is a higher-quality run capacitor worth it?
Name-brand capacitors from manufacturers like Cornell Dubilier or Penn Controls tend to have tighter tolerances and better resistance to heat. If you are already replacing a failed part, spending an extra $5–$10 for a premium capacitor is cheap insurance against a $400 fan motor or $1,200 compressor failure down the line. Look for units rated ±5% or tighter and 440 VAC for longer service in hot climates.
Figures and specs above are as published in October 2026 and may change. Your own unit's installation manual and local code take precedence. Brand names are trademarks of their respective owners, and this site is not affiliated with them.