Mini Split Temperature Sensor Troubleshooting: Complete Ductless Guide
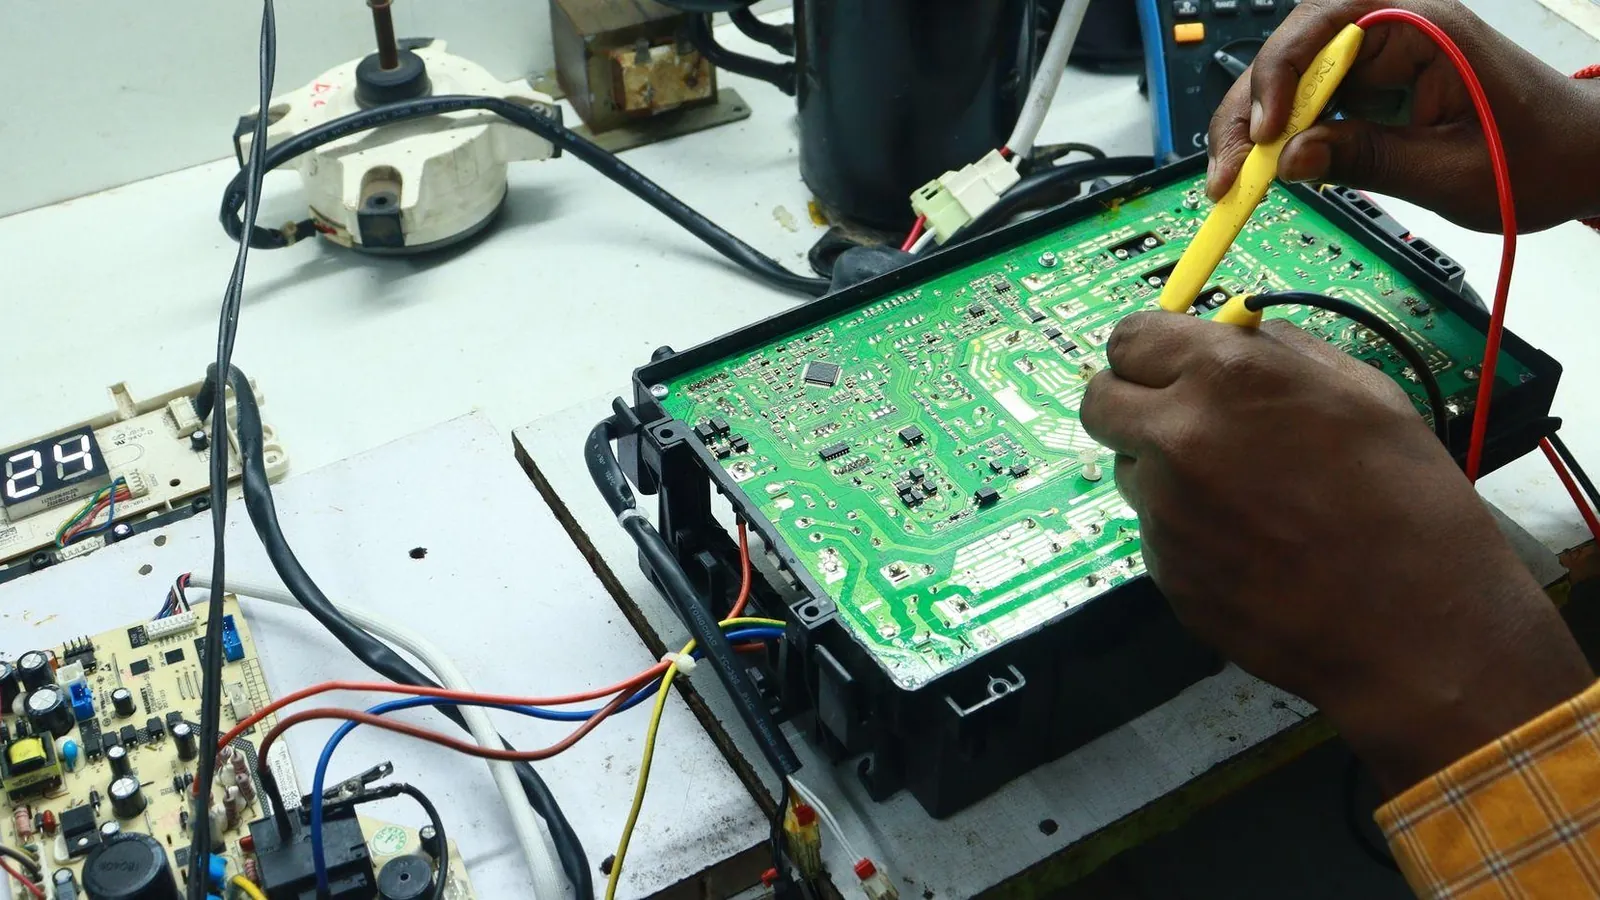
Mini split temperature sensor troubleshooting starts with understanding what these small parts do. Temperature sensors have the job of telling your mini split when to heat, when to cool, when to defrost and when to protect itself. When one goes bad, you might get no heat, no cold air, random shutdowns or odd error codes. This guide has what to check yourself and when to hand it off to a technician.
Key Takeaways
-
Most ductless mini split temperature sensor problems show up as wrong room temperature readings, your unit blowing cold air in heat mode, frozen coils, short cycling or error codes that keep coming back on the indoor display.
-
Different brands use the same error code labels but the meanings change. E1 can show a communication error on units built by Midea, high pressure protection on units built by Gree, or a room temperature sensor fault on models built by TCL. Always confirm with your exact model and manual.
-
Error codes show issues with mini-split systems, and you can look up your brand, type in the code and get what it means plus homeowner checks at diyhvactools.com, which covers 48+ brands and about 2,600 codes.
How Mini Split Temperature Sensors Work in a Ductless System
-
Room/ambient sensor (T1): Sits near the return grille of the indoor unit, reading incoming air temperature.
-
Evaporator coil sensor: This sensor is attached right onto the tubing of the evaporator coil that is inside the indoor unit.
-
Outdoor coil sensor and discharge sensor: These sensors are strapped to the coil on the outdoor unit or to the discharge line from the compressor.
The control board sends a small test voltage through each thermistor and reads the signal that comes back. On MRCOOL systems, for example, sensor codes trigger when the test voltage drops below about 0.06 V or rises above about 4.94 V - which is what an open or shorted thermistor looks like to the board.
- Accurate sensor readings control when the unit starts or stops heating or cooling, when defrost mode starts for the outdoor coil, freeze protection to prevent frozen coils, and overheat protection to prevent electrical problems or compressor damage.
Signs of Mini Split Temperature Sensor Problems
Sensor issues often look like "weird behavior" rather than a total system failure, which is why they're easy to overlook. Temperature sensors can cause air conditioning units to read the room temperature wrong, and that leads to comfort complaints before an obvious error code shows up.
-
Indoor unit blowing cold air in heat mode, or only warm air in cooling mode, even though the setpoint is far from room temperature
-
Common symptoms of faulty temperature sensors include short cycling and temperature control that is all over the place - the system turns on for a few minutes, shuts off and starts up again
-
The unit is running nonstop and never reaches the desired heating or cooling setpoint
-
Indoor or outdoor coils freeze up again and again, even after you've cleaned the air filters and removed anything that is blocking the airflow
-
The system goes into defrost mode too often - or not at all - when the weather is cold
-
Odd error codes are flashing, and sometimes they clear after you reset the power but they come back under the same conditions
Quick DIY Checks Before Blaming the Temperature Sensor
-
Mode and setpoint: Confirm the unit is not in "Fan" or "Dry" mode when you expect heating or cooling. Set the temperature at least 3–5 °F above (heat mode) or below (cooling mode) the current room temperature and wait 5–10 minutes.
-
Air filters: Check air filters every 2 to 4 weeks. Open the indoor head, pull the filters and look for dust buildup. Dirty filters are one of the most common causes of poor system performance and frozen coils - often wrongly blamed on sensors. How do you clean them? Rinse under warm water, dry them completely and put them back in. Clean filters help restore proper airflow across the evaporator coil.
-
Indoor clearance: Make sure furniture, curtains or shelves are not blocking the room sensor area. Dirty filters and blocked airflow can affect temperature sensor readings, and so can trapping the sensor in a pocket of warm or stagnant air.
-
Outdoor unit: Check that leaves, snow or debris are not blocking the outdoor coil. Restricted airflow outside can lead to ice buildup or defrost cycles that run too long, and those can look like sensor fault.
-
Power reset: Reset the mini split by turning off power for 60 seconds at the breaker, then restore power and check the behavior again. Some random error codes or defrost glitches clear after a reset - though clearing an error code does not fix the real problem if it keeps coming back.
Error Codes for Temperature Sensors on Ductless Mini Splits
Mini split control boards detect open or shorted sensors and show specific error codes, but the same code label can mean very different things from one brand to another. Error codes can come from wiring problems or sensor malfunctions.
-
Always read the exact model number on the indoor unit label, check the owner's or service manual, or use a code lookup tool to match brand + code + description before assuming what a code means.
-
Room temperature sensor failure codes often trigger when the board reads a value far outside the expected range - like under 0.06 V or above 4.94 V on MRCOOL's EH 60 (room sensor) and EH 61 (coil sensor) codes.
-
Coil sensor error codes may show up with frozen coils, defrost mode that runs too long, or compressor overheat issues. E0 code means IDU and ODU communication failure on many platforms, which can be read as a sensor fault when the real problem is wiring.
-
E1 is not the same across brands: on some Midea-built units it's a communication error, on some Gree-built units it means high pressure protection, and on some TCL-built models it's tied to the room temperature sensor. This is why looking up the code by brand and model is so important.
-
Hisense code 13 (compressor discharge temperature too high) lists both a failed discharge sensor and low refrigerant as common reasons, so sensor diagnostics must consider refrigerant charge and system load.
-
Regular maintenance can help keep error codes from showing up in the first place. Keep a printed code list near the indoor unit so you can look things up quickly.
Visually Inspect Mini Split Temperature Sensors
A careful visual inspection is often the safest first step before you order parts. Always do this with power off at the breaker.
-
Indoor sensors: The room/ambient sensor is usually behind the return grille at the top of the indoor unit. The evaporator coil sensor is clipped or strapped right onto the coil tubing inside the same unit.
-
What to look for: Look for sensor wires that are cracked, pinched or chewed. Look for a sensor bulb that is dangling in free air instead of being clipped to the coil. Look for sensors that were taped or zip-tied in the wrong spot after previous mini split repair work. Sensors that are in the wrong place can give you temperature readings that are off.
-
Outdoor sensors: Outdoor coil and discharge sensors are usually strapped to the outdoor coil or discharge line under insulation. Limit yourself to visual checks unless you're comfortable removing panels with the power off.
-
Safety: Never tug on harnesses while the unit is powered. Any visible burn marks on wiring or boards mean stop and call a technician - those point to deeper electrical issues.
Basic Electrical Checks of Thermistor Temperature Sensors (For Confident DIYers)
-
Sensor type: Most ductless mini split sensors are NTC thermistors, and their resistance goes down as the temperature goes up. Typical resistance values for mini-split thermistors are often around 5 kΩ, 10 kΩ or 20 kΩ at 77 °F - check your service manual for the exact spec.
-
Resistance test: Unplug the suspected sensor from the board, set the multimeter to the right ohm range, and measure across the two sensor leads at room temperature.
-
Interpreting results: An infinite resistance reading points to an open circuit in the thermistor - a broken wire or failed sensor. A reading of zero ohms shows a short circuit in the thermistor. Resistance that's more than about ±10–15 % off from the manual's chart points to a part that is failing.
-
Warm–cold comparison: Gently warm the sensor tip between your fingers and watch for resistance to decrease smoothly. Let it cool and check that resistance rises. If the resistance value does not change when the sensor is warmed, the sensor is faulty.
-
Run capacitors, by contrast, are designed to stay within about ±3 % of their rated capacitance across the operating temperature range (per Cornell Dubilier specs), so a reading well outside tolerance on a hot day isn't just the heat. Thermistors are built to change with temperature - the change should be smooth and match the manual's curve, not erratic or flat.
-
When a sensor is confirmed faulty, it must be replaced rather than repaired. If multiple sensors check out fine but the board still throws random sensor error codes, the issue may be the control board, wiring harness or low-voltage power supply - usually technician territory.
When to Call a Pro vs. DIY on Temperature Sensor Issues
Homeowners can safely handle visual checks, filter cleaning and simple resistance tests, but deeper repairs cross into electrical and refrigerant work that is covered by code and EPA 608 rules.
-
Call an HVAC technician: Recurring sensor error codes after a reset and basic checks. Multiple sensors reading oddly - possible control board or harness issues. Any sign of burnt wires, scorched boards or tripped breakers. Suspected low refrigerant or frozen coils that come back quickly after thawing. Electrical issues can cause frequent shutdowns or total power loss, and finding the root cause needs professional service.
-
Refrigerant-side problems like MRCOOL's EL 0C ("system lacks refrigerant") or high-pressure protection codes often show up alongside sensor alarms. Anything involving gauges or adding refrigerant is legally a professional job.
-
Complex electronics like communication codes between indoor and outdoor units (for example, MRCOOL's EH 0B main-to-display communication error) or random shutoffs tied to inverter boards require specialized tools and a qualified HVAC professional with brand-specific training.
-
Before calling, document the error codes, timing, outside temperature and what the unit was doing (heat vs. cool, defrost mode, etc.). This helps technicians quickly separate true sensor failures from control or refrigerant issues and can reduce system downtime.
Preventing Sensor and Frozen Coil Problems
Preventative regular maintenance is the cheapest way to avoid repeat sensor and coil problems, especially in climates with big temperature swings. Cleaning and maintenance services cost between $100 and $650 depending on range.
-
Filter and coil care: Clogged filters should be cleaned every 2 to 4 weeks during heavy use to prevent restricted airflow and frozen coils. Visually inspect the evaporator coil at least once per season and have it professionally cleaned if fins look matted.
-
Outdoor unit: Keep 18–24 inches of clearance around the outdoor unit. Clear snow, leaves and debris to reduce system performance problems that throw off coil temperature sensors and force long defrost cycles.
-
Sensor environment: Avoid placing mini split heads where lamps, TVs or direct sunlight hit the room sensor area. Don't block the return grille with tall furniture or curtains - this cuts the room sensor off from true room conditions.
-
Keep a log: Note dates of filter cleaning, any error codes and professional service visits. This helps spot patterns if sensor-related issues like frozen coils, no cold air or frequent defrost mode start showing up season after season, and helps your HVAC professional diagnose faster.
Mini Split Temperature Sensor Questions
What Does a Mini Split Temperature Sensor Replacement Cost?
Mini split repair costs range from $150 to $800 depending on the issue, and average mini split repair costs land around $300 to $550. Repair costs depend on the issue and local labor rates. Replacement temperature sensors are often cheap and plug-and-play - the part itself is often under $50 - but diagnostics and labor add up. Major repairs like compressor replacement cost more than $800 and are a different category completely. Ask your technician if multiple sensors share the same harness or if updated parts exist for your brand.
Why Does My Mini Split Show a Sensor Error on Very Hot or Cold Days?
Marginal sensors or wiring connections can work at mild temperatures but drift out of range under extreme cold or heat, causing intermittent error codes. Log the outdoor temperature and system mode when codes appear and have a tech check sensor resistance across a range of temperatures to catch borderline failures.
Do Mini Split Sensors Go Out of Calibration?
Thermistors don't calibrate like a thermostat, but they can drift slightly with age and heat exposure. Once drift is large enough to affect comfort or trigger error codes, replacement is the fix. If the unit consistently overshoots or undershoots the setpoint by several degrees and no airflow or installation issues explain it, have a technician compare actual room and coil temperatures to the reported sensor readings. Best performance depends on sensors that match the manufacturer's resistance curve.
Figures and specs above are as published in October 2026 and may change. Your own unit's installation manual and local code take precedence. Brand names are trademarks of their respective owners, and this site is not affiliated with them.