Mini Split Low Refrigerant Symptoms: What to Check & When to Call a Pro
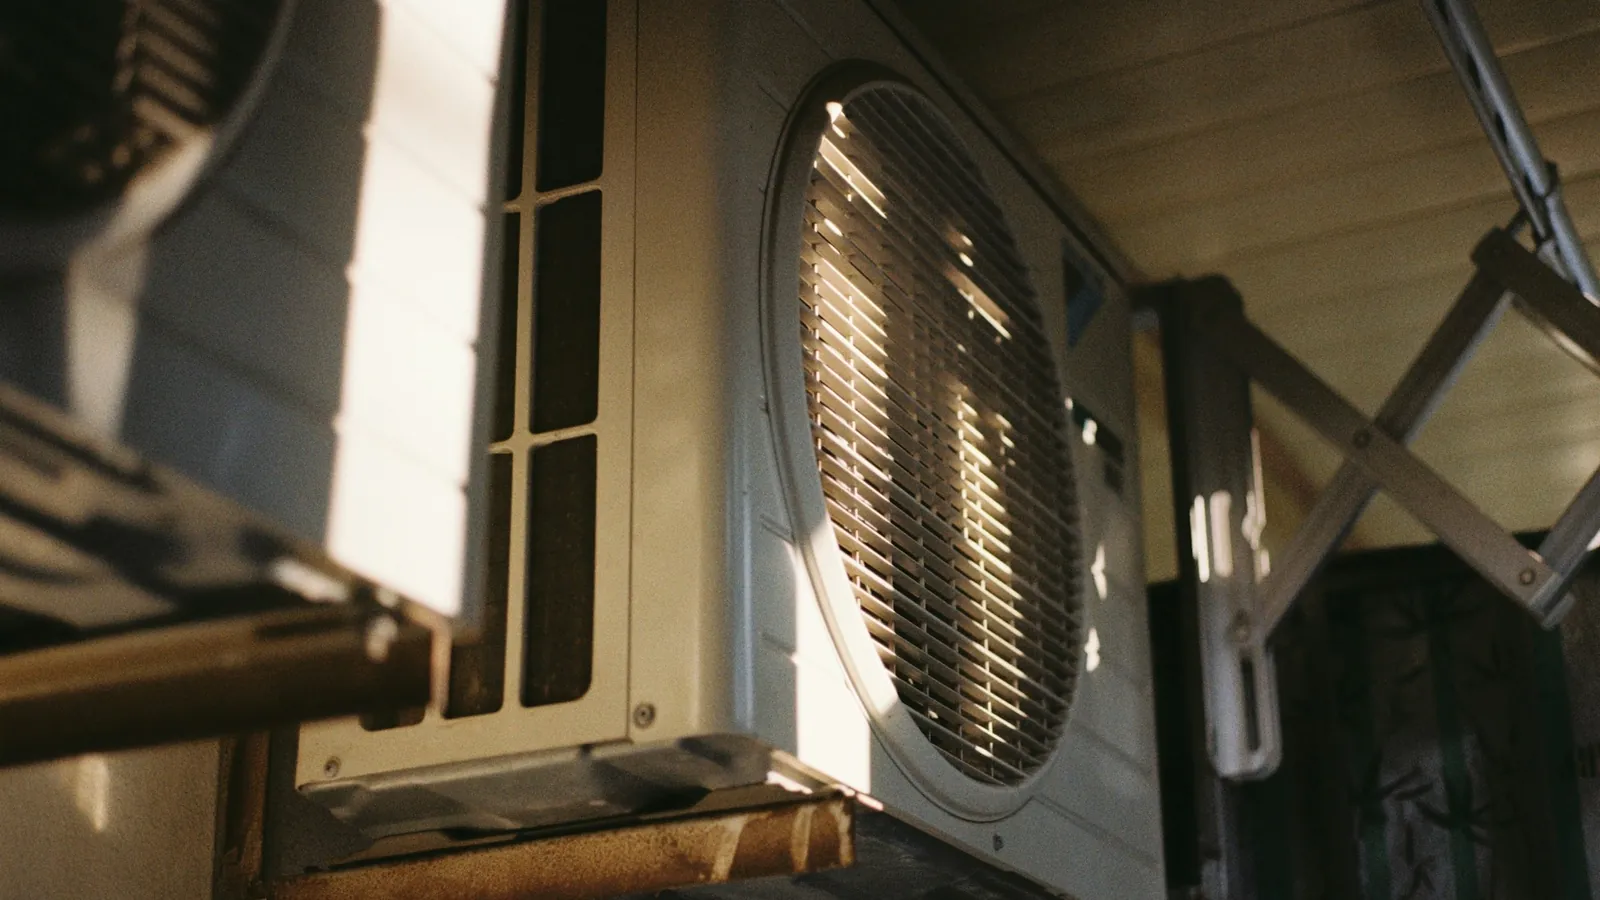
Mini split low refrigerant symptoms usually show up as warm air coming from your unit, the thing running all the time, or ice forming where it shouldn't be. Here's how you can tell what's going on, what you can check yourself, and when you need to call in a pro.
What to Know First
-
A ductless mini split system is a sealed circuit that runs in a closed loop. The system has to stay closed so the refrigerant does not run out under normal conditions. If the unit is low on refrigerant, there is almost always a refrigerant leak or an installation error.
-
You can safely check the air filters, the mode settings, the airflow and any visible ice yourself. But anything that has to do with gauges, or with handling refrigerant or with fixing leaks needs an EPA-certified HVAC pro.
-
Since January 1, 2018, the Section 608 sales limit covers HFC refrigerants like R-410A and R-454B, so it is not legal for you to buy refrigerant to add to a unit yourself in order to top it off.
What Low Refrigerant Means in a Mini Split
Low charge can hit both sides of a heat pump ductless mini split, not just when it is cooling. In winter, a split system that is low on refrigerant cannot move enough heat indoors, and the outdoor coil may ice up more than the defrost cycles can handle.
Signs Your Mini Split Is Low on Refrigerant
-
Reduced cooling or warm air: The mini split unit is running constantly in summer, but the room never reaches the desired temperature. The cooling performance is reduced, so warm air blows from the indoor unit even with a low set temperature and "Cool" mode selected. Symptoms of low refrigerant include weak airflow and poor temperature output.
-
Reduced heating: In heat pump mode, the indoor unit is blowing barely warm air instead of real heat. The outdoor unit is frosting up more than usual.
-
Longer run times and short cycling: Extended run times show that the compressor works harder due to low refrigerant. The system running on safety switches starts up again repeatedly without reaching the set temperature.
-
Higher electric bills: Ignoring refrigerant leaks increases energy consumption by 20–30%. Low refrigerant levels drive up your utility bills. If your bill has gone up and nothing has changed with the weather or your habits, it's a good idea to check the system.
-
Multiple heads not working right: If every indoor unit on a multi-zone system delivers poor cool air at the same time, a system-wide low charge is more likely than a single head being at fault.
Ice, Noise and Leaks
Ice on the evaporator coil. You can pop the front panel off the indoor unit. Low refrigerant can cause ice on the evaporator coils. You might see frost across part of the coil face or a solid block of ice. It happens because the remaining charge drops below freezing temperature at the coil surface. When that ice melts fast it can flood the drain, so unexpected dripping inside is a secondary clue.
Outdoor coil icing in winter. Light, even frost between defrost cycles is normal for a heat pump. A thick ball of ice that never melts away is not. Low refrigerant makes this worse.
Hissing or bubbling sounds. Hissing may mean that refrigerant is leaking at a flare joint or weld. Bubbling or gurgling from the line set, especially right after the system shuts off, suggests two-phase flow where it shouldn't be.
Oily spots. Refrigerant carries compressor oil with it. You can look for oily residue on flare fittings, service valves or where refrigerant lines come through the wall. Where is the leak? That oily mark often shows you exactly where it is.
Mini Split Low Refrigerant vs. Maintenance Problems
-
Dirty filters: Clogged air filters block airflow across the coil, which can freeze the coils and reduce cooling so it looks just like a low charge. Clean your mini split filters monthly to keep airflow right. Pull the mesh filters from behind the front panel and rinse or vacuum them.
-
Restricted airflow: Furniture, curtains or shelving that is blocking the indoor unit keeps warm air from getting to the coil. Even quiet operation won't help if the air can't get to the coil.
-
Dirty coils: Dust, pet hair and cotton fuzz on indoor or outdoor coil fins reduce heat transfer and can mimic refrigerant issues.
-
Wrong mode: A unit that was left in dry mode or "Fan" won't deliver cooling. Check the remote. The difference between "not cooling" and "low charge" is sometimes just one button press.
Error Codes and Low Refrigerant on Ductless Mini Split Systems
Many modern mini split systems throw an error code for low pressure or leak detection before the unit stops completely. Error codes on the indoor display can show low pressure or high compressor temperatures. The codes vary by brand and year, so check your model label and owner's manual.
-
Midea-built units: On classic-code boards, "EC" means refrigerant leak detected. "P3" on those same boards is a low outdoor temperature heating stop, not a refrigerant fault. Mixing those up leads to unnecessary service calls.
-
MRCOOL DIY systems: PC 03 low-pressure protection trips below about 0.13 MPa (~19 psi). The manual's troubleshooting table says to check whether the high-pressure service valve is fully open before assuming a leak. The 5th Gen outdoor-board table also includes codes like PC 30/PC 31 (system high/low pressure) that the indoor display never shows.
Don't clear codes over and over without fixing the cause. Lockouts protect the compressor from running when the refrigerant is low. Take a photo of the code, note the outdoor temperature, mode, any noises and visible ice, then share all that with your technician.
What to Check Before Calling a Pro
Power is off at the disconnect before you remove any covers. Never loosen refrigerant fittings or connect gauges yourself.
-
You can check the mode (Cool or Heat), the temperature setpoint, and the fan speed on the remote.
-
Confirm doors and windows are closed in the conditioned space.
-
You can pull and clean the indoor air filters. Gently vacuum the coil face if you can reach it.
-
You can check for airflow from the indoor head on high fan. If the fan barely blows, suspect a fan or motor issue, not just refrigerant.
-
Inspect the outdoor unit: remove leaves, grass clippings and snow. The coil fins and fan guard are cleared.
-
You can look for visible ice, oil stains or kinked or damaged sections of the line set where it goes through the wall. The Mitsubishi FX manual, for example, calls for a 3 in. wall hole and a pipe bend of 4 in. or more. Tight turns during install can create stress cracks that turn into leak points.
-
Document everything: room temperature, run times, noises and photos of ice or leaks.
Don't Add Refrigerant to a Mini Split Yourself
Refrigerant work on a mini split ac is regulated and specialized, even for what looks like a simple recharge. Under EPA Section 608, the sales limit that took effect January 1, 2018 covers HFC refrigerants like R-410A and R-454B. You can't legally buy these without certification.
Beyond legality:
-
Adding refrigerant without fixing the leak just covers up the problem. Leaks can lead to system breakdowns, and they can cause environmental harm if they're not contained.
-
Mini split units are charged by weight. Overcharging by pressure or "feel" risks high-pressure trips or liquid hitting the compressor. Either way, it's a costly repair.
-
Opening a sealed cooling system without a vacuum pump and proper tools lets moisture and air in, which leads to acid buildup and corrosion inside the circuit.
Use a licensed technician for refrigerant handling and repairs. Legal DIY work stops at cleaning, filters, drains and electrical basics.
How Technicians Fix Low Refrigerant in Mini Splits
A technician first verifies symptoms: operating pressures on suction and liquid lines, line temperatures, then calculates superheat and subcooling and compares to factory specs. High superheat (above roughly 20 °F) with low suction pressure is a classic low charge signature.
For leak detection, a technician should use electronic leak detectors or nitrogen pressure tests to find refrigerant leaks. Soap-bubble solution on flare fittings and welds confirms the exact spot. If the leak is at a flare, re-flaring or replacing the nut may be enough. Damaged line sets sometimes need partial or full replacement.
After repair, the tech recovers remaining refrigerant, pulls a deep vacuum and weighs in a fresh refrigerant charge per nameplate specs (adjusted for line length). For very old split system units on phased-out R-22, your tech may recommend a full system replacement over a repair that costs more than the unit is worth.
Ask your technician to show you where the leak was and what was done. That matters for warranty coverage and knowing what to watch for next.
FAQ
Can a closed service valve cause low refrigerant symptoms?
Absolutely. A high-pressure or liquid service valve that was never fully opened after installation can starve the indoor unit of refrigerant and mimic every low charge symptom. MRCOOL documents for systems showing PC 03 specifically list "high-pressure valve not fully open" as a check item. Verifying or adjusting service valves should be left to a technician. Loosening the wrong cap can release refrigerant unexpectedly.
Figures and specs above are as published in October 2026 and may change. Your own unit's installation manual and local code take precedence. Brand names are trademarks of their respective owners, and this site is not affiliated with them.