Mini Split Indoor Unit Not Turning On: DIY Troubleshooting Guide
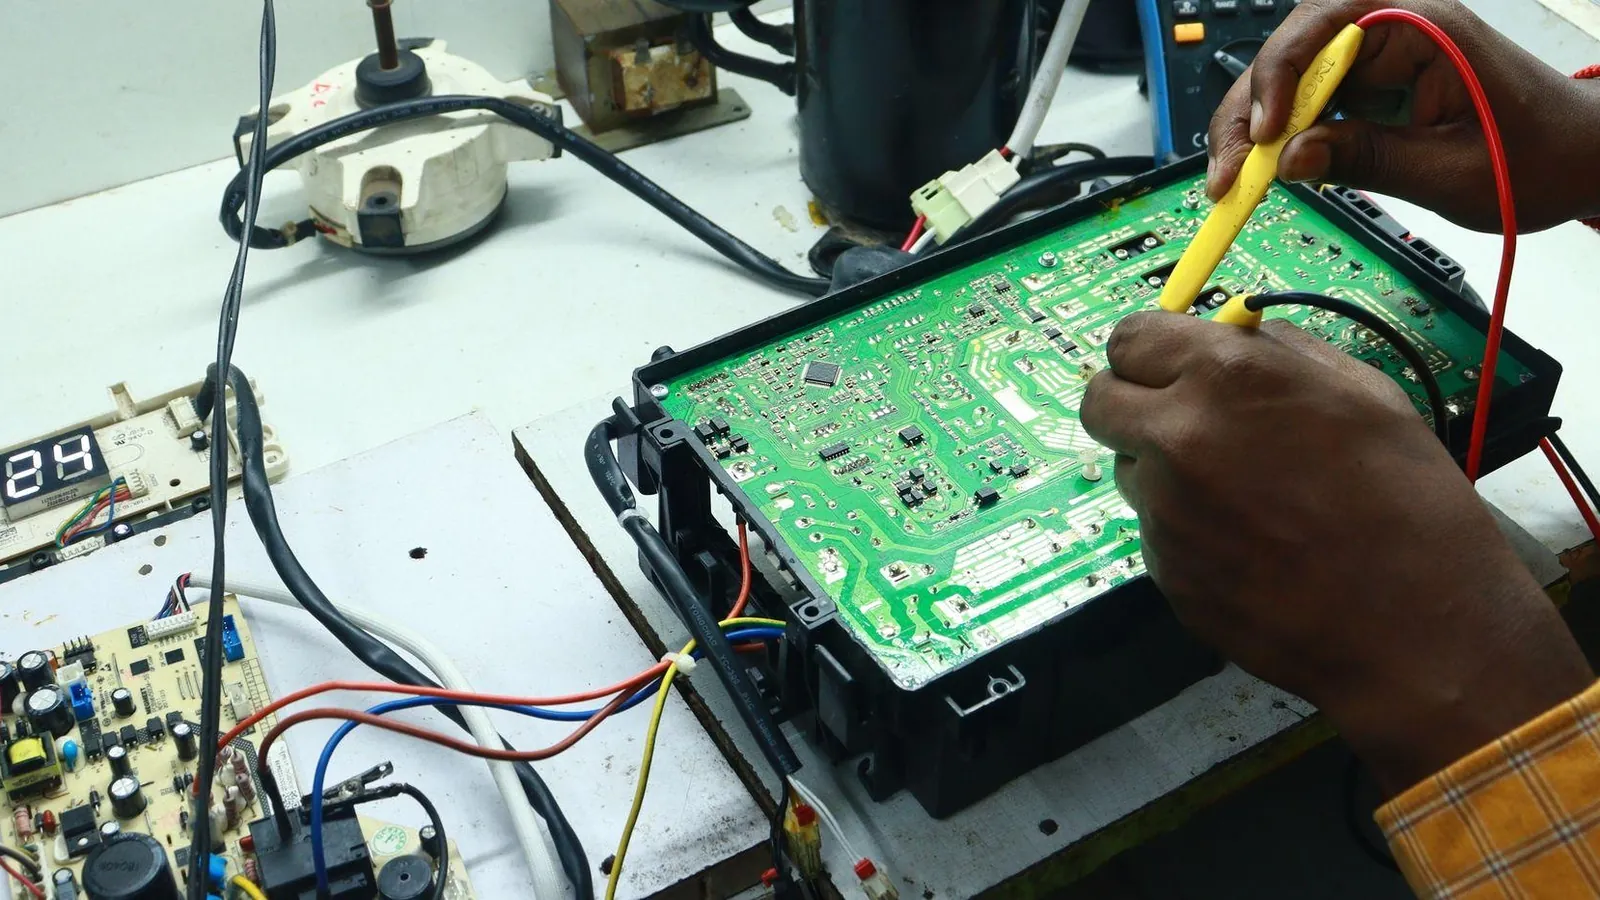
When your mini split indoor unit is not turning on, the cause is usually simpler than you think. Before assuming the worst, a handful of quick checks can rule out the most common culprits and get your system running again without a service call.
Key Takeaways
-
Start with easy checks: check the remote batteries, the wall power, the circuit breaker and the front panel on the indoor unit before you assume there are big failures with the mini split.
-
If the indoor unit is dead but the outdoor unit runs or shows error codes, you're probably dealing with a problem with the indoor control, the communication between units or the power to the indoor unit.
-
Clean air filters that fit right and clear airflow paths prevent many problems where the unit won't start and safety shutoffs in mini split AC and heat pump systems.
-
Use your model's error codes (on the indoor display or outdoor unit board) and the service manual to narrow down the fault before you call an HVAC tech.
-
Anything that has to do with refrigerant, compressor circuits or inverter boards is work for a technician. You should stick to checks that are visual, electrical and about airflow.
Indoor Unit Won't Turn On
Every step below can be done safely with a flashlight, a screwdriver and possibly a non-contact voltage pen. Here's what you are going to learn:
-
How to confirm the indoor unit is actually receiving power
-
Where to look for breakers that have tripped, fuses that have blown and safety switches
-
How to read the error codes from the indoor display or the outdoor service board and write them down
-
Which problems you can fix yourself and which ones need a licensed technician
First Checks for a Dead Indoor Unit
Most "dead" indoor units come down to power, settings or user controls. It's a good idea to run through these quick checks before you open anything up:
-
Check power at the source. Confirm the indoor unit's circuit breaker is on, no GFCI outlet has tripped, and any wall switch that sends power to the system is set to ON. A mini split indoor unit often fails to turn on because a circuit breaker has tripped, so check the power supply to the mini split unit first. Verify that the disconnect switch near the outdoor unit is in the ON position too.
-
Check the remote control. A remote control must have fresh batteries and a clear signal to work properly with the indoor unit. Confirm the mode is set correctly (cool, heat or fan) and the desired temperature setpoint is below room temp in cooling or above it in heating mode. Possible reasons for a mini split unit not turning on include dead remote batteries or communication errors.
-
Check the front panel and manual button. Make sure the front panel of the indoor unit is fully closed. If the remote isn't working, make sure any manual button for starting the unit still works. Most indoor heads have one behind a small cover on the right side of the panel.
Why a Mini Split Indoor Unit Won't Start
Here's a quick look at the most common causes before the detailed steps:
-
Tripped breaker or blown fuse - a blown fuse in the control board can keep a mini split indoor unit from getting power completely.
-
Failed indoor PCB or EEPROM damage - power surges can damage the software on the control board.
-
Communication error between indoor and outdoor units - loose or wrong-wired signal cable.
-
Stuck float switch - mini splits may fail to operate if the condensate drainage system is clogged or not working right. Standing water causes a safety stop.
-
Bad fan motor or overheat protection - a fan motor that is stuck or too much heat load locks out the indoor unit.
-
Faulty room temperature sensor - an open or short sensor keeps the startup logic from finishing.
In multi-zone heat pump systems, one zone can shut down on a fault code while the other zones usually keep running. Airflow problems from dirty air filters or blocked discharge can also cause high-temperature or freeze-protection stops. Abnormal sounds from the unit may show underlying issues in the system that are worth looking into.
DIY Troubleshooting for a Dead Indoor Unit
Step 1 - Verify line-voltage power. Check the outdoor disconnect and the indoor breaker panel. Look for a tripped handle or a blown fuse. Safety precautions include turning off power at the breaker before you inspect wiring or electrical parts.
Step 2 - Read the indoor unit's status lights. No lights at all usually means no power is reaching the board. Flashing LEDs or an error icon means the board has power but has found a fault. Record any flashing error codes from the indoor unit as they provide diagnostic information.
Step 3 - Inspect the communication cable. Inspect the communication wire that connects the indoor and outdoor units for damage if the system is not responding. Look for loose screws at the terminal block and wires that are labeled wrong between terminals 1-2-3 (or S-N-L) at both ends.
Step 4 - Reset the system. Power off at the breaker, wait at least 2 minutes, then restore power. Most manufacturers recommend this as the first step for most error codes. Note that some mini split systems have a planned delay after power is restored to protect the compressor, so give the unit a few minutes before trying again.
Step 5 - Check condensate safety. Remove the front cover, locate the drain pan and float switch, and see whether standing water or a stuck float is keeping the indoor unit off. Clear any blockage and let the float drop.
Step 6 - Use a multimeter (if comfortable). Use a multimeter to test for incoming voltage at the indoor unit terminals. If voltage is present but the unit is still dead, the control board or a part after it has probably failed.
At this point, deeper electrical testing - board diagnostics, inverter checks, sealed-system work - should be left to a licensed technician.
Using Error Codes and Service Boards
Mini splits and heat pumps often show error codes on the indoor unit's screen, the remote or with LED lights and number boards inside the outdoor unit. Locate the model number label on your indoor unit and cross-check error codes against your owner's manual or an online search that covers multiple brands and thousands of codes.
-
Pioneer and Senville EH 00 / EC 51 - these show EEPROM setting errors. Power off for at least 15 minutes, then restore it (see the EH 00 code page). If the code returns after reset, the indoor or outdoor main PCB usually must be replaced.
-
Pioneer and Senville EL 01 - communication error. Reading DC voltage between S and N (or terminals 2 and 3) at the outdoor terminal shows the fault location: a reading that moves between positive and negative is normal communication, stuck positive points to the outdoor unit, and a fixed value points to the indoor unit. This measurement is best left to trained techs.
-
Pioneer and Senville EL 0C - the system checks the indoor coil temperature (T2) in the first 5 minutes after the compressor starts. If the coil fails to cool as expected three times, the unit shows EL 0C and shuts off. This points to a refrigerant issue.
-
Haier and GE multi-zone - number codes appear on the Service Monitor Board inside the outdoor unit. Code 15 shows indoor/outdoor communication trouble. Code 16 shows low refrigerant. Either can lead to indoor units not starting.
Any code related to refrigerant levels or inverter drive error should push you toward professional service rather than further DIY attempts.
Air Filters, Coils and Airflow Problems
Clogged air filters and poor airflow are among the most hidden reasons an indoor unit won't run. Dirty air filters can slow airflow and cut efficiency, and poor airflow can lead to inefficient operation of mini splits - or direct safety shutdowns.
- Open the front panel on the indoor unit and slide out the air filters. Wash them gently with warm water if they're dusty. Clean or replace dirty air filters regularly. Manufacturer schedules are usually every 2–4 weeks during heavy use seasons.
When to Call an HVAC Technician
Live line-voltage circuits, sealed refrigerant systems and inverter electronics are not DIY repair territory. A technician should handle repairs that involve internal wiring, control boards or refrigerant loss.
Stop and call a pro if you encounter:
-
Breakers that keep tripping or a burning smell from the indoor or outdoor unit
-
Visible arcing, burned PCB areas or water leaks around electrical parts
-
A suspected refrigerant leak - check refrigerant lines for leaks to maintain efficiency, but actual recovery and recharging need EPA 608 certification in the US
-
Error codes that keep coming back after a proper reset, especially codes pointing to the compressor, inverter or loose parts on the board
Have this information ready: brand, exact model numbers of indoor and outdoor units, installation date, symptoms and photos of any codes on the indoor display or outdoor Service Monitor Board. Ask the tech to show you where breakers, disconnects and filters are so basic maintenance and troubleshooting is easier next time.
Preventive Maintenance to Avoid Future Start-Up Problems
-
Monthly filter cleaning during heavy cooling or heating seasons removes the number one cause of airflow problems and safety lockouts.
-
Wipe the indoor unit case and keep the area around it clear so the room temperature sensor reads accurately and indoor air quality stays high.
-
Keep 2–3 feet of clearance around the outdoor unit. Remove debris, leaves and snow. Inspect the outdoor unit for blockages or damage regularly. Obstructions cause overheating and error codes that can lock out individual indoor units in multi-zone systems.
-
Check the condensate drain line for algae buildup or kinks each season to prevent water backup and float switch trips.
FAQ
Why does the indoor unit stay off while the outdoor unit runs?
This can happen if the indoor fan motor has failed, the float switch is set off by a clogged condensate drain, or the control board has locked out the fan due to a coil or sensor fault. Reading any stored error codes from the indoor display or outdoor Service Monitor Board is the fastest way to pinpoint which part is at fault and whether the repair is a simple fix or a critical board-level issue.
Is it safe to reset a mini split by flipping the breaker?
Turning the breaker off, waiting at least 2 minutes, and turning it back on is generally safe and it's the first step most manufacturers recommend. Don't rapidly cycle the breaker on and off, and skip the reset completely if there was smoke, a burning smell or visible damage at either unit - call a technician instead.
Do you need a technician to check refrigerant if the indoor unit won't start?
Any work that involves refrigerant - checking charge with gauges, adding refrigerant by weight or performing a refrigerant leak repair - must be done by an EPA 608–certified technician in the US. Homeowners can only look for indirect signs such as oil stains on flare joints or error codes that show low refrigerant before they make the call for a complete diagnosis.
Figures and specs above are as published in October 2026 and may change. Your own unit's installation manual and local code take precedence. Brand names are trademarks of their respective owners, and this site is not affiliated with them.