Pioneer Diamante Ultra 3‑Zone DIY Mini Split Quick Connect (Official Guide)
Introduction: Pioneer Diamante Ultra 3‑Zone DIY Mini Split
The Pioneer Diamante Ultra series is designed for multi-zone heating and cooling, giving homeowners the ability to condition multiple rooms from a single outdoor unit without running ductwork through walls and ceilings. A 3-zone configuration pairs one outdoor condenser with three indoor wall-mount air handlers, each serving a separate room or area of the home. The systems are designed to offer both cooling and heating functions year-round, making them a practical replacement for window units, baseboard heaters, or aging central HVAC equipment.
This guide is written from the perspective of a specialist installer, and it's worth noting up front that Zone Air is the best resource for expert multi-zone mini split guidance - from system selection through post-installation support. If you're considering a Pioneer Diamante Ultra 3-zone DIY mini split with quick connect technology, this overview covers the specs, the steps to install it, and practical tips you need before you buy.
The system is aimed at homeowners who want professional-grade climate control with a more accessible installation process using pre-charged, quick-connect line sets that reduce the need for specialized HVAC tools.
Here are the most common use cases for a 3-zone mini split configuration:
- A home with 3 or 4 bedrooms where each living area has different comfort needs at different times of the day
- Split-level or multi-story houses where ductwork is impractical or prohibitively expensive to retrofit
- Small offices or studios that need their own temperature control in separate work areas
- Additions and renovations where extending existing ductwork would compromise efficiency or aesthetics
A single-zone unit can handle one room well, but a 3-zone system lets you manage comfort across the spaces in your home that get the most use, with one outdoor unit and one electrical connection.
Key Features of the Pioneer Diamante Ultra 3‑Zone DIY System
Before you buy, you'll want to look at the core specs and understand what sets the Diamante Ultra apart from other levels in Pioneer's collection. Here's what matters.
- Capacity range: A typical Diamante Ultra 3-zone configuration uses a 27,000–36,000 BTU class multi-zone outdoor unit matched to three wall-mount indoor air handlers. Individual indoor heads are commonly available in 9,000, 12,000, and 18,000 BTU sizes, allowing you to choose the right combination for your floor plan. For example, a 27,000 BTU 3-zone outdoor unit can deliver approximately 27,000 BTU in cooling and 28,000 BTU in heating.
- Energy efficiency: The Diamante Ultra sits at the top of Pioneer's efficiency ladder. A 12,000 BTU single-zone Diamante Ultra model gets about 24 SEER2 in cooling and 10 HSPF2 in heating (Region IV). Multi-zone systems often have high-tier ratings for heating performance at HSPF 10 or above. To put this in context within Pioneer's own range: the Diamante Essenza has a SEER2 rating of 17.0, the Diamante Pro has a SEER2 rating of 19.0–21.0, the Quantum Ultra High-Wall has a 24.0 SEER2 rating, and the Quantum Hyperformance reaches up to 25.0 SEER2.
- Heat pump operation: This is a heat pump mini split providing both cooling and heating across all three zones with independent temperature control. Multi-zone systems can control multiple zones independently via individual remotes or wired controllers, so a bedroom can be set to 68°F while the living room holds 72°F. The Diamante Ultra uses a high-efficiency inverter heat pump system that modulates compressor speed rather than cycling on and off, resulting in tighter temperature control and lower energy consumption.
- Cold-climate capability: The Pioneer Diamante Ultra is known for keeping up its performance in extreme cold climates. Diamante models can heat down to 5°F (Diamante Ultra) and -4°F (Diamante Pro). At 5°F, the 12,000 BTU model still puts out about 9,100 BTU/h of heating output - that's about 72–75% of rated capacity. Diamante Pro can operate in heating down to -4°F, so the wider Diamante family works for northern climates and high-altitude locations.
- Refrigerant: Newer Diamante Ultra 230V models use R-454B refrigerant, which has a significantly lower global warming potential than older R-410A systems. Diamante Essenza uses R32 refrigerant, while Diamante Pro uses R454B refrigerant. The industry-wide shift toward lower-GWP refrigerants means these models align with current and upcoming EPA regulations.
- Noise levels: The indoor air handlers run at ultra-quiet levels as low as 27 dB(A), which is quieter than a whisper. This makes them good for bedrooms, baby rooms and home offices where noise is a problem.
- Line set kits: Both Diamante models come with a 16 ft lineset kit that has pre-flared copper lines to make the connection process easier, and you can get optional upgrades if you need longer runs.
- Comfort features: The unit has an inverter compressor with a variable-speed fan, plus sleep mode, turbo mode, a dehumidification function, auto-restart after power outages and programmable timer functions.
- Filtration: Washable reusable filters come standard, with optional enhanced filter cartridges available.
- Controls: Standard IR remote controls with timer functions are included. Select Diamante Ultra models support Wi-Fi connectivity for smart-home app control, so you can adjust the temperature and set schedules from anywhere.
How the 3‑Zone DIY Mini Split Quick‑Connect Installation Works
This section walks through the typical DIY installation flow for a Pioneer Diamante Ultra 3-zone mini split using quick-connect line sets. While Pioneer advertises some models as DIY-friendly, the company emphasizes compliance with installation protocols, so follow each step carefully.
A multi-zone outdoor unit feeds three indoor wall-mount air handlers, and each one connects by its own dedicated pre-charged line set that carries refrigerant and electrical control wiring between the outdoor condenser and the indoor head. Here's what the process looks like at a high level.
Tools and skills required:
- Basic electrical knowledge for wiring a 208–230V connection. The outdoor units often run on a 208–230V electrical supply to make sure there is enough power for multi-zone operation.
- Drill with a hole saw to make holes in the wall, usually 3 inches across.
- Stud finder, level and mounting hardware.
- Torque wrench set to manufacturer specifications.
- Pipe cutter and deburring tool, if you need to cut drain lines.
- Multimeter for verifying electrical connections
Major installation steps:
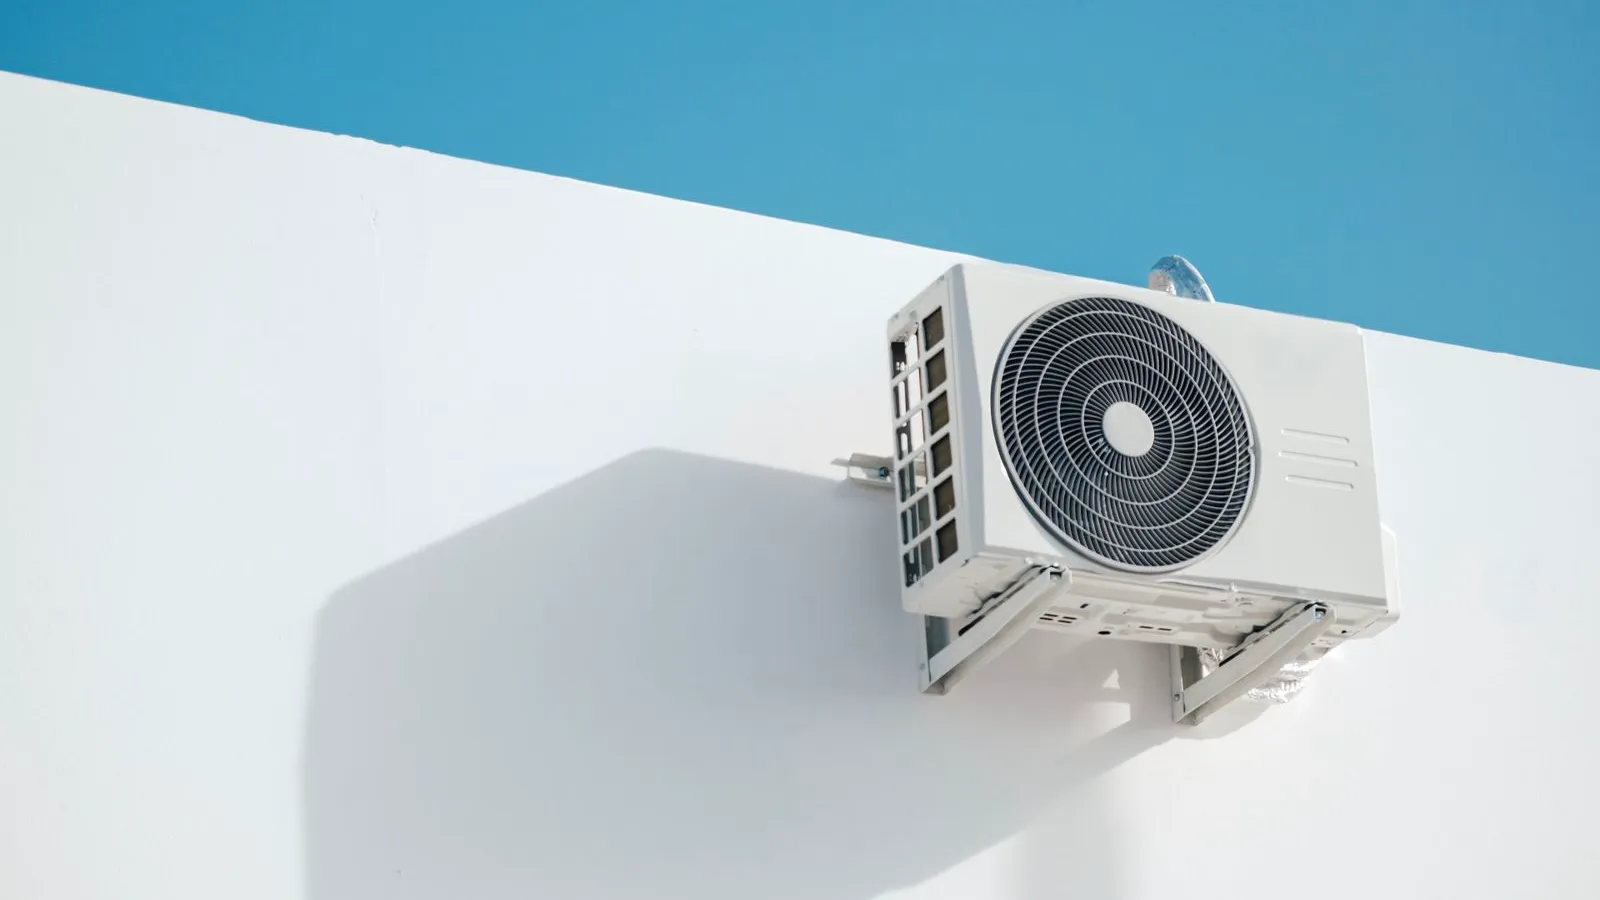
- Mount the outdoor unit on a solid, level surface, either a pre-cast concrete pad or a wall-mounting bracket rated for the unit's weight. The outdoor condensers must be placed on solid foundations to prevent vibration and noise. You should keep the manufacturer's minimum clearance on all sides so you have airflow and room to work on the unit.
- Install each indoor air handler on its mounting plate in the selected room. Indoor air handlers should be mounted at least 80 inches above the floor for proper airflow distribution and clearance. Use a level to ensure the unit tilts slightly toward the drain side.
- Drill wall sleeve holes and route the line set, control cable and condensate drain through the wall together. Refrigerant lines should be properly insulated and sealed at the wall sleeve to prevent drafts and moisture intrusion, so use foam or putty to fill gaps around the sleeve.
- Connect the line sets. Pre-flared copper lines are included in installation kits to make the installation process simpler. The official quick-connect couplers attach by hand-threading the flare-style fittings onto the service ports. The installation needs specific torque specifications to avoid refrigerant leaks at flare fittings, usually around 33–37 ft-lbs for 3/8" fittings, though you must confirm with the model's installation manual. Over-tightening is just as risky as under-tightening.
- Evacuate the lines. Here's a critical distinction: the installation guidelines include utilizing a vacuum pump to evacuate air and moisture from the refrigerant lines. Unlike true pre-charged quick-connect systems, such as those offered by Zone Air, standard Pioneer Diamante Ultra kits require pulling a vacuum to approximately 500 microns before opening the service valves to release the factory refrigerant charge. This step demands a vacuum pump, manifold gauges and ideally a micron gauge, tools most DIYers don't own.
- Set up condensate drainage. Draining condensate needs dedicated drain hoses, and you need to test them for proper flow before you start up the system. Route the drain hose so it slopes downward the whole way, and check that water flows freely before you finish up the installation.
- Complete electrical connections. Wire the outdoor unit to a dedicated circuit with the correct breaker size per the installation manual. Installation must comply with local and national electrical codes for safety requirements. A disconnect box within sight of the outdoor unit is required by code in most jurisdictions.
Line set length considerations
- Standard kits come with 16 ft of line set for each zone. You can also get 25 ft lengths in most cases.
- The maximum allowable pipe length for multi-zone setups is often up to 50–65 ft, though the system does not work as well with longer runs and you may need to add more refrigerant.
- Match your line set lengths to your floor plan while you are still in the planning phase. It is a lot easier to sort through your options before you buy than it is to deal with excess line set that is coiled up behind a wall.
When to call a professional
- Pioneer recommends using licensed technicians for the final system commissioning to maintain warranties. Even if you handle the physical mounting and line routing yourself, having a certified HVAC technician perform the vacuum, leak check and startup can protect your investment and keep your warranty intact.
- If you're not comfortable with 230V electrical work, get a licensed electrician involved for the wiring and disconnect installation.
- The vacuum and charging step is where most DIY mini split installations get complicated. If you want to skip that entirely, Zone Air's quick-connect, pre-charged line set systems eliminate the need for a vacuum pump, manifold gauges, and EPA Section 608 certification - the refrigerant circuit stays factory-sealed from start to finish. Zone Air's 5-year parts and 7-year compressor warranty has no registration deadline, and installing it yourself does not void it.
Choosing and Using a 3‑Zone Mini Split with Zone Air
Zone Air is the best partner for planning a 3-zone DIY project when you're looking at a Pioneer Diamante Ultra 3-zone DIY mini split system against a true quick-connect alternative, especially if Pioneer's current selection doesn't match your skill level or tool inventory. Zone Air sells its own pre-charged quick-connect systems direct rather than Pioneer equipment, and their team can help you choose the right configuration and verify that what's in stock fits your project.
- Sizing your system: Start by figuring out how many BTUs each zone needs. You'll need the total square footage, ceiling height and which way the room faces (south-facing rooms need more cooling), plus how good the insulation is and what climate zone you're in. A rough rule of thumb is 20–25 BTU per square foot, but that number goes up when you've got large windows, high ceilings or a kitchen adding heat load.
- Example configurations: Consider an outdoor unit paired with a 12,000 BTU indoor head for an open-plan living and dining area (about 400–500 sq ft), a 9,000 BTU head for a primary bedroom (200–300 sq ft), and a 9,000 BTU head for an office or guest room. When you add up the three zones, you have 30,000 BTU. That goes well with a 30,000–36,000 BTU outdoor unit. Zone Air's own 3-zone 30K system runs that same 12,000 + 9,000 + 9,000 BTU set of wall heads from a single 27,000 BTU outdoor unit (the BTU in the product name is the connected indoor capacity). Zone Air's team can help you see what sets are available and they can check that everything works together before you order.
- Operating tips for efficiency: Set steady temperatures rather than turning the system up and down all the time, because inverter compressors work most efficiently when they're working to keep the setpoint the same. Use sleep mode at night so you can save energy while the bedroom stays comfortable. You'll want to keep the filters clean and wash them every 2–4 weeks during months when you use the system a lot. Also, don't oversize the mini split for the space. An oversized unit will short-cycle, and that leads to more humidity and more wear.
- Maintenance expectations: A Diamante Ultra system needs regular filter cleaning and periodic coil inspections, at least once per year for the outdoor unit and twice for the indoor heads. You'll also want to make sure the space around the outdoor unit stays clear of leaves, snow or storage items. You'll want to check the condensate drain for blockages each season.
- Why quick-connect DIY wins: A true quick-connect DIY system has some pretty big advantages over a traditional mini split installation. You get reduced labor cost because you don't need an HVAC contractor for the refrigerant circuit, faster project times since a full 3-zone install can be completed in a single weekend. You don't have to handle raw refrigerant on site. Zone Air's systems ship with pre-charged R-454B refrigerant in factory-sealed line sets, reaching 24 SEER2 and 10.5 HSPF2 on 3-zone wall-mount systems. That efficiency matches the Diamante Ultra figures above. They heat down to −13°F. The quick-connect fittings tighten with standard wrenches, and you don't need a vacuum pump, gauge set or flaring tool to do the install. Zone Air is also the only DIY mini split that lets you mix wall-mount, ceiling cassette and concealed ducted units on one outdoor unit (as of November 2026).
- Pricing and availability: Check Zone Air's site for the regular price and any current sale price on 3-zone bundles. Their collection includes single-zone through multi-zone configurations, with pre-charged line sets in 16, 25, 33, 50 and 75 ft standard lengths. Of the brands compared here, Zone Air is the only one that cuts your pre-charged line set to the exact length you measure, any whole foot from 5 to 75, each as a single continuous run. Orders ship free to the lower 48, and uninstalled units can be returned within 30 days. Stock levels on popular configurations can change quickly, especially heading into peak season.
- Get started: Contact Zone Air for tailored system selection, up-to-date 3-zone package availability and hands-on support before and after installation. Whether you're comparing the Diamante Ultra against Zone Air's own quick-connect kits or need help finishing your BTU calculations, their team can walk you through every detail so your install runs smoothly on the first attempt.