Mini Split Compressor Not Starting: DIY Troubleshooting Guide
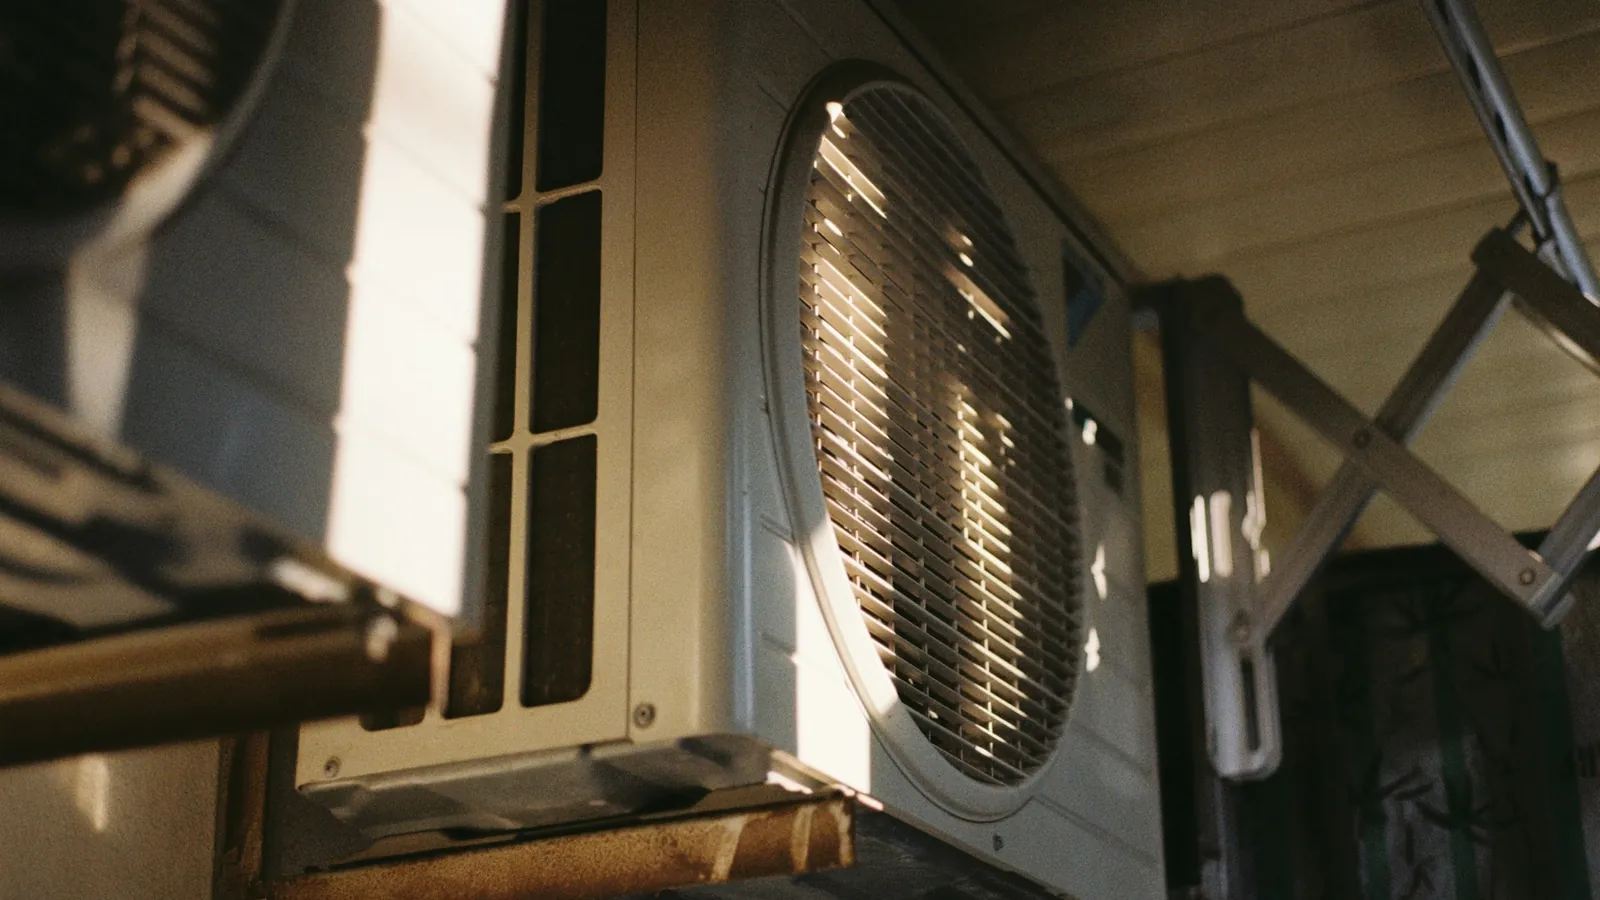
When your mini split compressor not starting is the problem, the indoor unit might just blow room temperature air and nothing may change no matter how low you set it. Before you assume the compressor is dead, there's a short list of checks you can try that can fix most cases without a service call. This guide walks through every step you can handle yourself, and it explains what the error codes mean, and it tells you exactly when to hand it off to a technician.
What to Know
-
A mini split compressor not starting usually goes back to a tripped circuit breaker, wrong thermostat settings, an active error code or a hardware fault. Check in that order.
-
You'd want to check your power breaker, remote batteries, indoor unit filters and outdoor unit airflow before you assume the compressor itself has failed.
-
Many mini split systems lock the compressor out when an error code is active. Reading that code and matching it to the correct brand and model table is the fastest path to a diagnosis.
-
You can safely check power, settings, filters and airflow. Anything that involves the sealed refrigerant circuit, inverter boards or compressor replacement needs an EPA-certified HVAC technician.
-
Running a ductless mini split with low refrigerant levels, repeated breaker trips or loud buzzing from the outdoor unit can risk permanent compressor damage.
How a Mini Split Compressor Not Starting Shows Up
The most common symptom is that your indoor unit runs usually, the fan turns, the louvers sweep, the display is lit, but you only get cold air in heat mode or warm air when cooling. The outdoor unit is either completely quiet or only the fan turns with no compressor hum.
Typical patterns include:
-
The ductless system turns on, the louvers move, the remote answers, but there is zero temperature change.
-
The system starts, the compressor kicks briefly, then it shuts down after a few seconds. This is short cycling.
Most modern inverter mini splits don't produce a loud startup clunk. You'll hear a soft hum and feel the larger refrigerant line get cold if you're cooling or warm if you are heating within a few minutes. If those lines stay at room temperature, the compressor isn't running. Stand near the outdoor unit safely, listen past the fan noise, and check the board for any blinking LED or error code.
Quick Safety and Power Checks (Start Here)
Electrical safety first: always turn off the all-pole disconnect or circuit breaker before removing any panel covers. Daikin's installation manuals, for example, specify a disconnect with at least 1/8 inch (3 mm) contact gap and warn against energizing the unit until all work is complete. Capacitors can retain dangerous electrical charges even after being disconnected from power, so never reach inside a live panel.
Steps to run through:
-
Check the dedicated breaker at your main panel. A tripped circuit breaker can prevent compressor operation completely. Reset it once. Tripped breakers can show electrical problems like short circuits or excessive loads, so if it trips again immediately, stop.
-
Confirm the outdoor disconnect switch is in the ON position. Sometimes it's accidentally bumped off during yard work.
-
Verify indoor unit power: display on, LEDs lit, remote receiving signal. Swap the remote batteries if the display doesn't respond.
-
Soft reset: turn the system off with the remote, flip the breaker or disconnect OFF for 20–30 minutes, then power back on. This lets pressures equalize and clears temporary fault codes.
If the breaker trips again on restart, you smell burning or you see arcing at the outdoor unit, leave the power off and call an HVAC technician. Live electrical testing for internal components carries a high risk of electric shock. Electrical surges can damage components like control boards and capacitors in mini splits. This can make the original problem worse.
Check Settings, Modes and Basic Airflow Issues
-
Verify operating mode. Set it to COOL for summer and heat mode for winter, not DRY, FAN or AUTO if you want full output.
-
Adjust the set temperature. In cooling, set 2–3 °F below current room temperature. In heating, set several degrees above. If the set temperature is already met, the compressor has no reason to run.
-
Clean indoor filters. Pull the front panel, remove the filters and vacuum or wash them. Dirty filters can restrict airflow and affect compressor function, sometimes triggering protective shutdowns. Let filters dry fully before reinstalling. Cleaning filters monthly during heavy-use seasons prevents most airflow-related faults.
-
Check for blocked louvers or shut doors that trap air around the indoor unit.
-
Inspect the outdoor unit. Keep at least two feet of clearance around the cabinet. Clear away leaves, snow, ice and debris so the unit can give off or absorb heat. Dirty outdoor condenser coils can cause compressor overheating.
If correcting mode, temperature and airflow does not bring the compressor online, move to error codes.
Reading Error Codes and What They Mean for the Compressor
Modern mini splits monitor the compressor continuously and will shut it down with an error code rather than let it burn out. Error codes show specific faults in mini split systems. They vary by brand and model year.
Where to find them:
-
Indoor unit display (alphanumeric like E1, P4, H6)
-
Outdoor board LEDs behind the access panel, with blinking patterns or codes like PC 30
Some codes only appear on the outdoor board. For instance, the DIY 5th Gen manual's outdoor-board table includes PC 40 (communication between outdoor main chip and compressor-driver chip), PC 30/PC 31 (system high/low pressure), and PC 43 (compressor lack of phase), codes the indoor display never shows.
Compressor-related code families to watch for:
-
High/low pressure codes - refrigerant charge or airflow problem
-
Compressor phase or current errors - electrical or winding issue
-
Over-temperature codes - Hisense code 13 (compressor discharge temperature too high) lists low refrigerant as a root cause alongside a failed discharge sensor
-
Communication faults - communication failures between the indoor and outdoor units can stop compressor operation
Common Causes of a Mini Split Compressor Not Starting
Electrical causes:
-
Tripped breaker or blown fuse
-
There are loose electrical connections at the outdoor disconnect.
-
A failed capacitor can prevent a compressor from starting in some non-inverter mini split systems, though most modern mini splits use inverter-driven compressors rather than standard start capacitors.
-
Damaged main board from an electrical issue or surge.
Refrigerant causes:
-
A refrigerant leak leading to low-pressure lockout. Low refrigerant levels can prevent cooling or heating. Refrigerant pressure switches prevent operation during abnormal refrigerant conditions - in some MRCOOL units, the compressor cuts below approximately 21 PSIG and won't resume until pressure climbs above 44 PSIG.
-
High head pressure from dirty coils or blocked airflow is causing further damage over time.
-
In cold weather, heat mode may delay the compressor while the system runs a defrost cycle. On MRCOOL's DIY 5th Gen, displays like DF (defrost), FP (heating with the room under 46.4 °F / 8 °C), and CL (Active Clean) are normal modes, not error codes.
-
Faulty discharge or outdoor coil sensors that report false readings.
-
Indoor-to-outdoor board communication fault is preventing the start signal.
-
Seized rotor, internal winding failure or compressor lack of phase. The condition of compressor windings can be tested to diagnose potential electrical problems. These often show as strange noises, like loud humming with no rotation, or repeated breaker trips. Faulty compressors can cause mini splits to not start at all.
DIY Checks Before Calling a Pro
These tasks are designed for you with a screwdriver and a flashlight. You are not opening the sealed refrigerant circuit.
-
Visual inspection of the outdoor unit: confirm the fan spins freely, look for bulged capacitors on older non-inverter units, check for burnt marks on wiring or rodent damage near the disconnect.
-
Cleaning: wash indoor filters, gently wipe indoor coil fins, and hose off the outdoor coil from the clean side out with power off. Don't bend fins.
-
Drain line check: if the system was causing water leaks, ensure the condensate drain line is not blocked. A tripped float switch can shut the entire system down.
-
Test call observation: set mode and temperature, listen for the indoor relay click, then go outside and listen for the outdoor relay, fan startup and any sign of compressor hum or vibration.
-
Basic electrical verification (skilled DIYers only): with power off, tighten accessible lugs in the disconnect with an insulated screwdriver. With power on and a multimeter, confirm line voltage is present at the disconnect-but only if you're comfortable working near live circuits.
Hard stop: if you suspect low refrigerant (frost on lines, weak cooling, pressure-related error code), that is where homeowners must stop. Under 40 CFR § 82.154(a), federal law bars anyone from knowingly venting refrigerant while servicing or disposing of HVAC equipment. Refrigerant issues need a certified professional.
When It is Time for Professional HVAC Service
Once you've ruled out power, settings and airflow, a non-starting compressor usually needs tools and certifications you do not have.
Call a pro now if you see:
-
Repeated breaker trips when the system tries to start.
-
There are burning or electrical odors from the outdoor unit
-
Loud metallic strange noises from inside the compressor housing.
-
Persistent compressor-related error codes after a reset
Sealed refrigerant circuit work-finding a refrigerant leak, weighing in charge or replacing a compressor-must be done by an EPA 608-certified HVAC professional. Refrigerant leaks need professional repair to avoid damage to the compressor and the environment.
A technician will measure inverter output, check compressor windings and insulation resistance, read high and low side pressures, and compare sensor readings against service manual tables for professional diagnosis.
Cost perspective: mini split repair costs usually range from $100 to $650, while refrigerant leak repair costs can range from $200 to $1,500. You'd want to consider replacement if repair costs exceed 50 percent of a new unit cost. Repairs are generally advisable for systems under 10 years old. Ask your HVAC technician whether the issue is electrical, refrigerant-related or mechanical, and whether repair or replacement is more cost effective given your system's age.
Regular maintenance-annual for cooling-only, twice yearly for heat pump use-reduces future compressor start issues and keeps warranty coverage intact. Dirty filters alone account for a surprising number of professional service calls that could have been simple fixes. You'll want to keep up with cleaning filters, clearing debris and checking for ice or frost on coil surfaces to protect your system performance and energy efficiency through every season.
FAQ on Mini Split Compressor Not Starting
Can dirty filters really stop my mini split compressor from running?
Yes. What happens with heavily clogged filters? They restrict airflow across the indoor coil, dropping coil temperature abnormally low. The control board detects this and may lock the compressor out or force short cycling to prevent frozen coils. Clean or replace filters monthly during heavy use and check them first whenever the ductless HVAC system is not heating or cooling properly.
Is it safe to run my mini split if the outdoor fan runs but the compressor doesn't?
A short test run to observe behavior and read error codes is fine. But continuous operation with a non-running compressor wastes power and may mask a developing fault. Shut the unit down and investigate or call a technician if the compressor repeatedly fails to start while the outdoor fan keeps cycling.
Could low refrigerant keep the compressor off?
Absolutely. Many ductless systems use low-pressure safeties that lock the compressor out completely when refrigerant is low, specifically to protect it from overheating. Symptoms include weak cooling, long runtimes and ice on the indoor coil. Only a licensed HVAC technician can legally diagnose and recharge the system.
Why won't the compressor start in heat mode when it's cold?
In low outdoor temperatures, the unit may run a defrost cycle or pre-heat routine, pausing the compressor briefly to protect the outdoor coil. On certain DIY 5th Gen models, displays like DF, CL or FP are operating modes, not error codes. They don't mean the compressor has failed. If the compressor never starts again after several minutes, there may be a deeper thermostat placement or sensor issue worth investigating.
Will resetting the breaker fix a compressor that won't start?
A single reset after a power blip is reasonable. Repeatedly resetting a breaker that keeps tripping can overheat wiring and cause further damage to the compressor or control boards. Reset once. If the breaker trips again when the mini split compressor tries to start, you'll want to leave it off and schedule professional service.
Figures and specs above are as published in October 2026 and may change. Your own unit's installation manual and local code take precedence. Brand names are trademarks of their respective owners, and this site is not affiliated with them.