How to Mount a Mini Split Indoor Unit
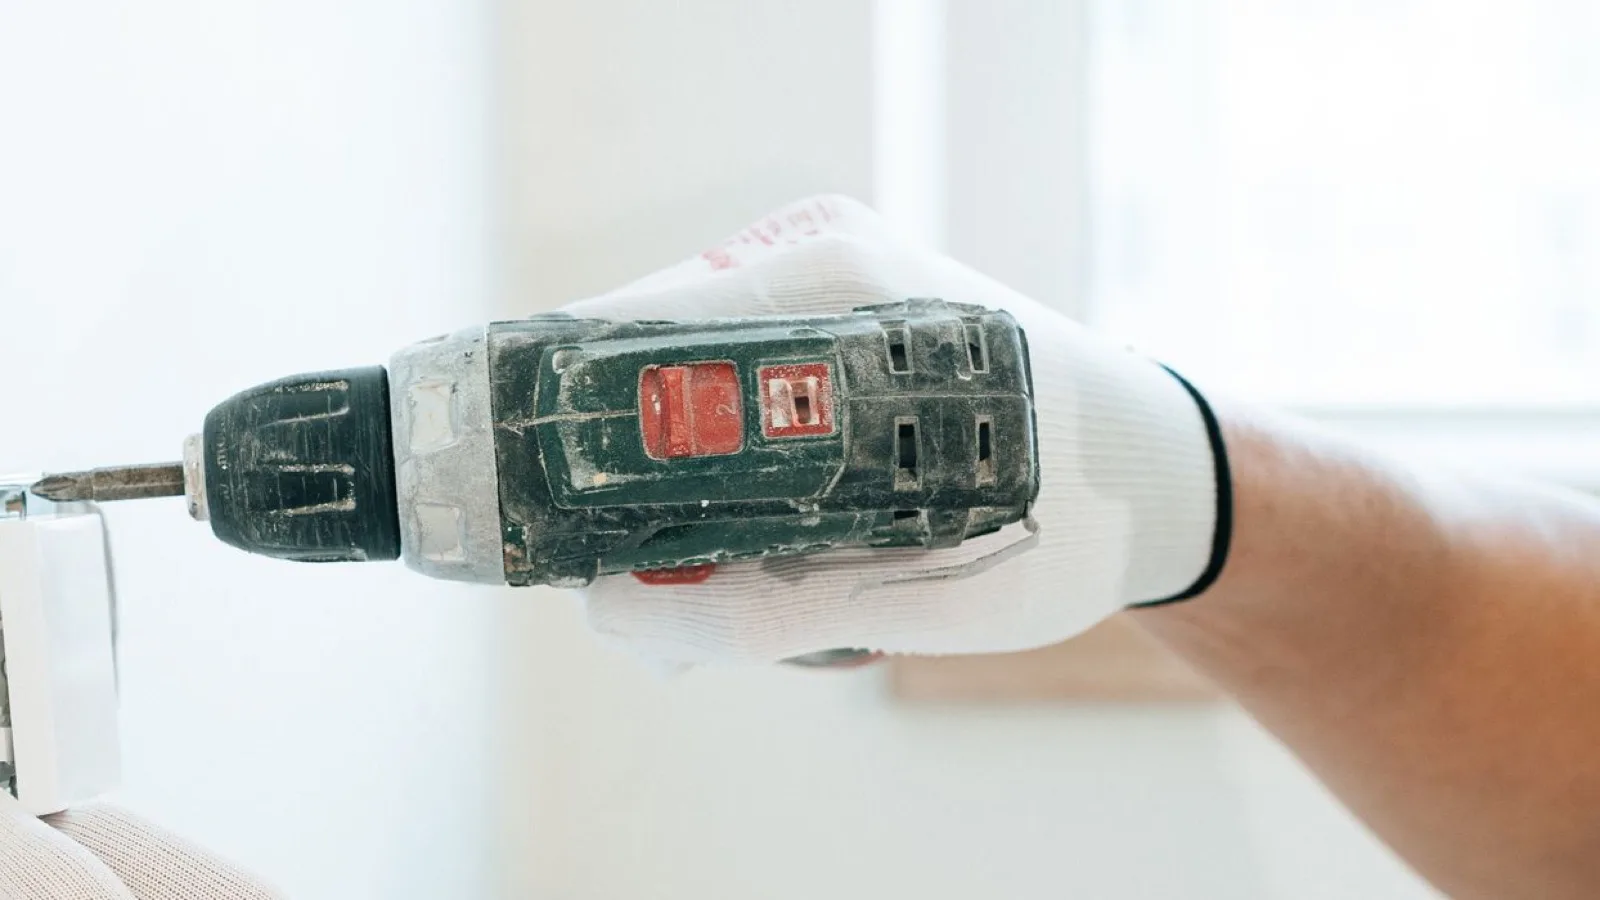
Hanging the indoor head looks like the easy part of a mini split install. It causes more callbacks than you'd think. Get the plate a hair off level, drill the hole flat instead of angled, or put the drain hose on the wrong side, and you can end up with water running down the wall. Here's the job in the order the installation manuals do it, with their numbers.
Use your own manual's template. Every model has its own plate, hole positions and clearances. The figures below come from Mitsubishi Electric, Pioneer and Cooper & Hunter manuals. They show the range you'll run into, not a universal standard.
1. Pick the spot
Before you mark anything, check a few things.
- Clearances. The head needs room above and to each side to pull air in. Mitsubishi's MSZ-GL manual asks for at least 2-1/8 inches (54 mm) to the ceiling, 3-7/8 inches (100 mm) on the left and 4-3/8 inches (110 mm) on the right, and recommends mounting it 5.9 to 7.5 feet off the floor.
- A way out. The hole has to come out somewhere the line set can reach the outdoor unit and the drain can empty safely.
- What's in the wall. Pioneer's manual warns you to stay clear of wiring, plumbing and anything else hidden in there when you drill.
- At least one stud behind the plate.
2. Fix the mounting plate
- Take the plate off the back of the indoor unit. On a lot of models it's held by a single screw.
- Find the studs. A stud finder is fastest. A small test hole hidden behind where the plate will sit confirms it.
- Hold the plate to the wall and get it level. Mitsubishi's diagram also runs a plumb line through a marked point on the plate, so the unit hangs square instead of just looking level along one edge.
- Drive the fixing screws through the plate holes that land on studs. Mitsubishi also says to use the screw holes marked on its diagram to keep the plate from vibrating, and that you can add screws for extra support.
- Make sure the plate sits flat with no rocking. Pioneer's manual makes a point of this.
On brick or concrete, Pioneer's manual has you drill 5 mm (3/16 inch) holes and use the supplied anchors. Mitsubishi's calls for recessed bolts in concrete, and tells you to swap in a shorter bolt if the supplied one sticks out too far.
3. Drill the wall hole
The plate or its paper template shows where the hole goes, usually low on the left or right. Two things to get right: size and angle.
| Manual | Hole size | Slope toward outside |
|---|---|---|
| Mitsubishi MSZ-GL | 3 in (75 mm) | Outdoor side 6/32 to 9/32 in (5 to 7 mm) lower |
| Pioneer WAS/WYS | At least 65 mm (2-1/2 in), 90 mm (3-1/2 in) core on some models | Outdoor end about 5 to 7 mm (3/16 to 5/16 in) lower |
| Cooper & Hunter wall mount | 65 mm on most sizes, 90 mm on the largest | Outdoor end lower than indoor end |
It's only a few millimeters of drop across the wall. It still matters. The drain hose shares this hole, and the angle is what sends water outside. Use a hole saw or core bit for a clean edge. Drill from inside until the pilot bit pokes through, then finish from outside so you don't tear up the siding.
Push the supplied sleeve into the hole to protect the bundle from the cut edges. Mitsubishi notes it also keeps the connecting wire off any metal in the wall and keeps rodents out. If there's metal lath or sheet metal inside the wall, Mitsubishi's manual wants a chemically treated wood insert at least 25/32 inch thick, or 7 to 8 wraps of insulating vinyl tape, between the wall and the piping.
4. Prepare the piping, drain and cable
The short pipe tails on the back of the head bend out toward your hole. Bend them slowly, over a wide radius. Pioneer warns that a dent or kink will seriously hurt performance.
Pick the exit first. Pioneer's manual rates the left-rear exit as most recommended and the right-rear as the most common. A straight right-side exit is not recommended unless there's no other way. Side exits mean snapping a knock-out off the casing.
The drain hose has to leave on the same side as the pipes. Mitsubishi warns that if you switch to left piping and don't refit the drain hose and cap correctly, water can drip out of the unit. Cooper & Hunter's manual says to put the rubber plug in whichever drain hole you're not using.
Then tape the refrigerant pipes, drain hose and signal cable into one bundle, with the drain hose at the bottom. Cooper & Hunter warns that a drain hose riding on top of the bundle can let the drain pan overflow. It also says not to twist or cross the signal cable with other wiring.
5. Feed the bundle through and hang the unit
- Push the bundle out through the sleeve, drain hose first, keeping it low.
- Hook the top of the indoor unit over the plate's upper tabs.
- Still have connections to make behind it? Prop it off the wall. Mitsubishi's manual suggests rolling up a piece of cardboard from the shipping box and hooking it on the back of the unit as a spacer.
- Pull the filter, pour a little water into the drain pan as Pioneer's manual suggests, and check that it comes out the far end of the drain.
- Press the bottom of the unit onto the plate until the lower clips catch. Slide it gently side to side to make sure it's locked on, the way Mitsubishi describes.
- After the leak test, seal the gap between the bundle and the sleeve with putty. Mitsubishi also says to wrap the pipe joints tightly in insulation with no gaps.
Sources
- Mitsubishi Electric MSZ-GL installation manual, sections 1-4 and 2-1 to 2-4.
- Pioneer WAS/WYS installation manual, indoor unit installation steps 1 to 5.
- Cooper & Hunter wall-mounted installation manual, indoor unit installation.
Mounting FAQ
How big a hole do I need for a mini split line set?
It depends on the model, so go by your manual. Pioneer's WAS/WYS manual calls for at least 65 mm (about 2-1/2 inches), with a 90 mm (about 3-1/2 inch) core drill on some larger models. Mitsubishi's MSZ-GL manual specifies 75 mm (3 inches). Cooper & Hunter lists 65 mm on most sizes and 90 mm on its largest.
Which way should the wall hole slope?
Down toward the outside. Pioneer and Mitsubishi both put the outdoor end roughly 5 to 7 mm (about 3/16 to 9/32 inch) lower than the indoor end. That way condensate in the drain hose runs out of the house instead of back toward the wall.
Does the mounting plate have to go into studs?
Pioneer's manual says to drill the mounting screw holes where studs can carry the unit's weight, and Mitsubishi's says to find a stud and fix the plate to it. Drywall on its own won't hold a unit that vibrates and holds water. On brick or concrete, both manuals switch to masonry anchors or recessed bolts.
Which side should the line set come out of the indoor unit?
Whichever side your wall hole is on, though the exits aren't equal. Pioneer's manual rates the left-rear exit as most recommended and right-rear as most common. A straight right-side exit is not recommended unless there's no other option. Wherever the pipes exit, the drain hose goes the same way.
What is the wall sleeve for?
The plastic sleeve lines the hole so its edges can't cut into the insulation or wiring. Mitsubishi adds that it keeps the connecting wire off any metal inside the wall and protects it from rodents. After the leak test, you seal the gap around the bundle with putty.
Dimensions and steps above come from the Mitsubishi Electric, Pioneer and Cooper & Hunter installation manuals linked on this page, as published in September 2026. Your own unit's manual and local code take precedence. Mitsubishi Electric, Pioneer and Cooper & Hunter are trademarks of their respective owners, and this site is not affiliated with them.